![]()
QR Generator Factory
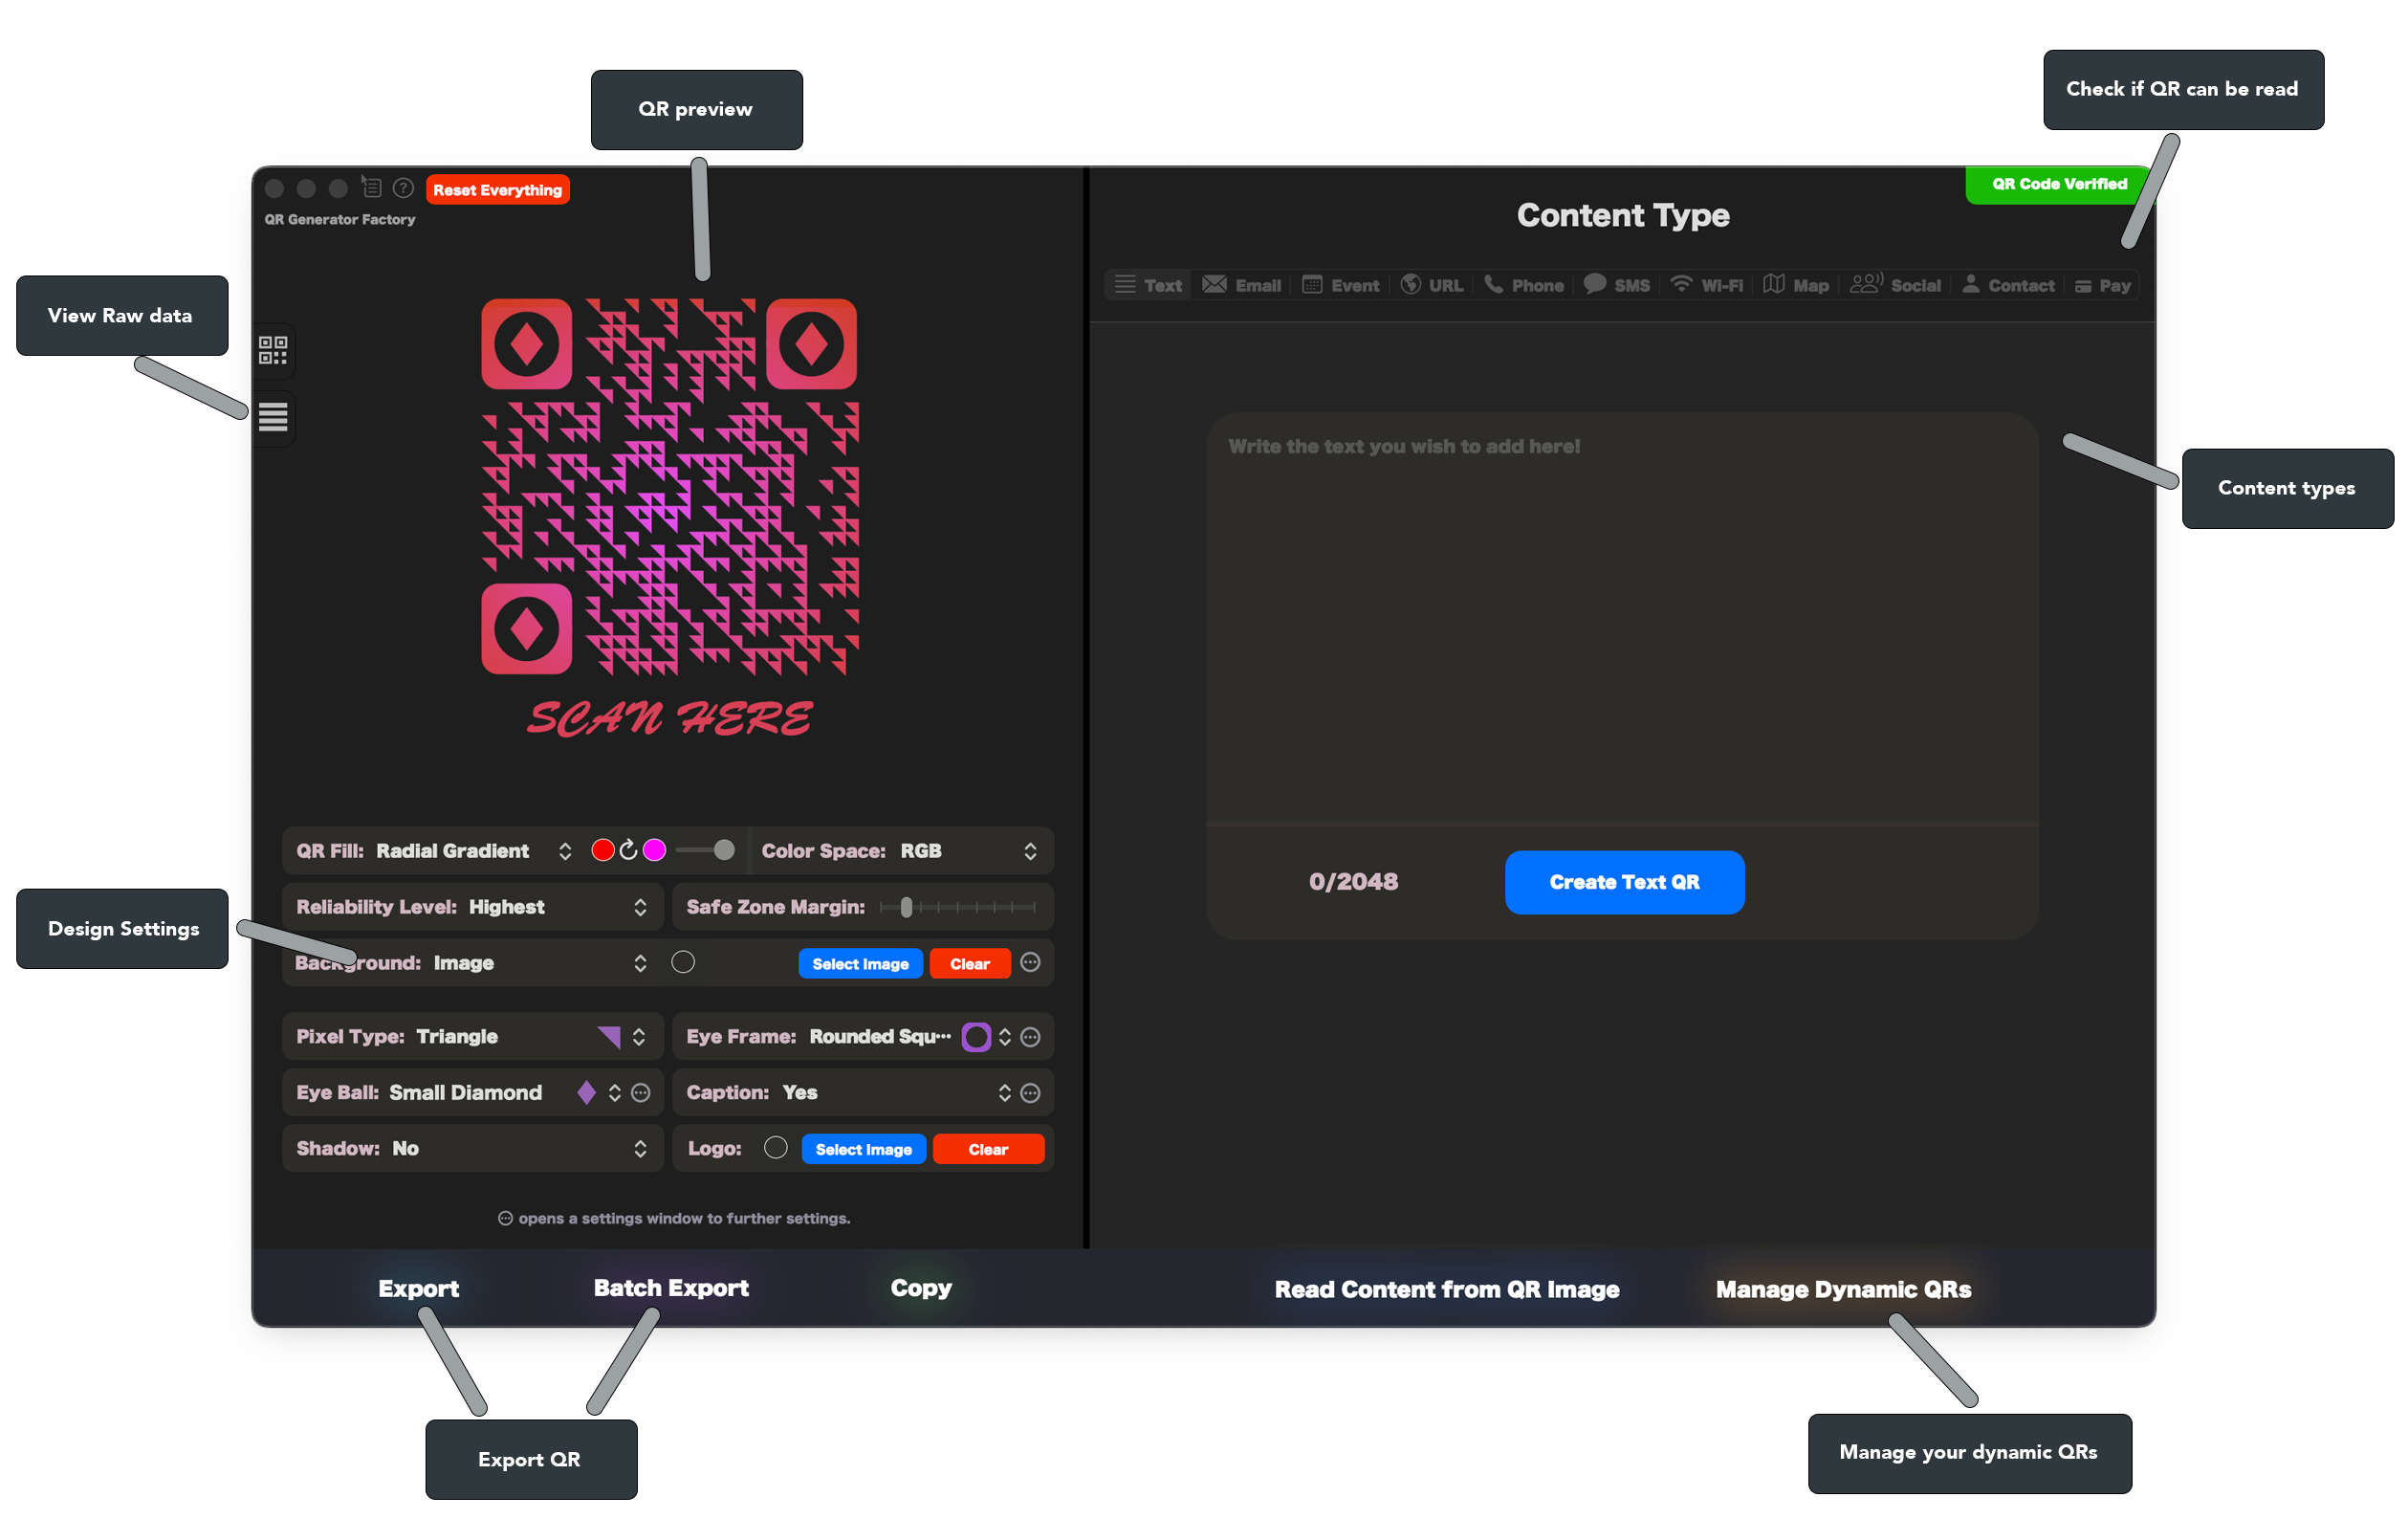
The main interface
QR Fill
QR Generator Factory allows you to change the fill color of your QR code.
There are 4 options, a solid color, linear gradient, radial gradient or an image:
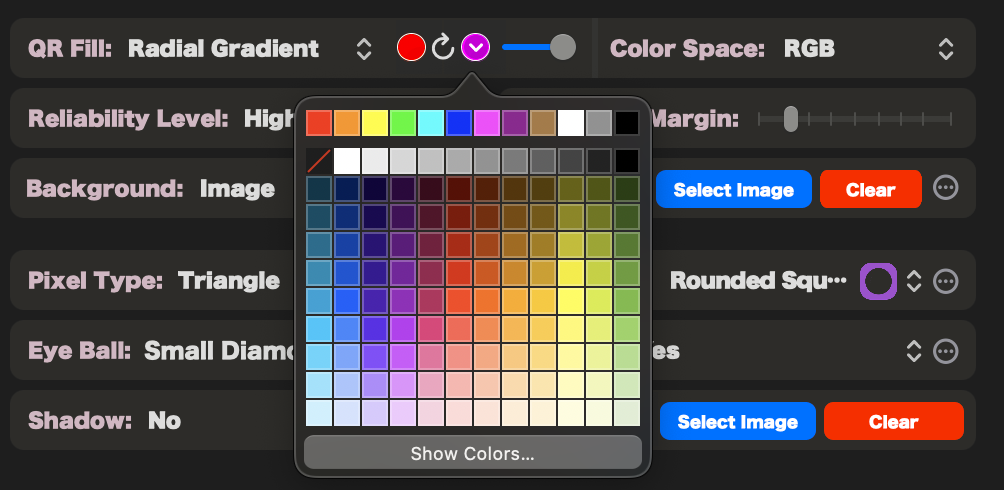
Solid color is very straight forward just select a color and you are done, for radial and linear gradients choose the first and second color for the gradient. Radial sliders have a slider to change the radius of the gradient, Linear sliders have a round slider to change the linear gradient angle.
The image setting lets you clip an image to the QR Fill which is pretty neat you can use almost any image for this.
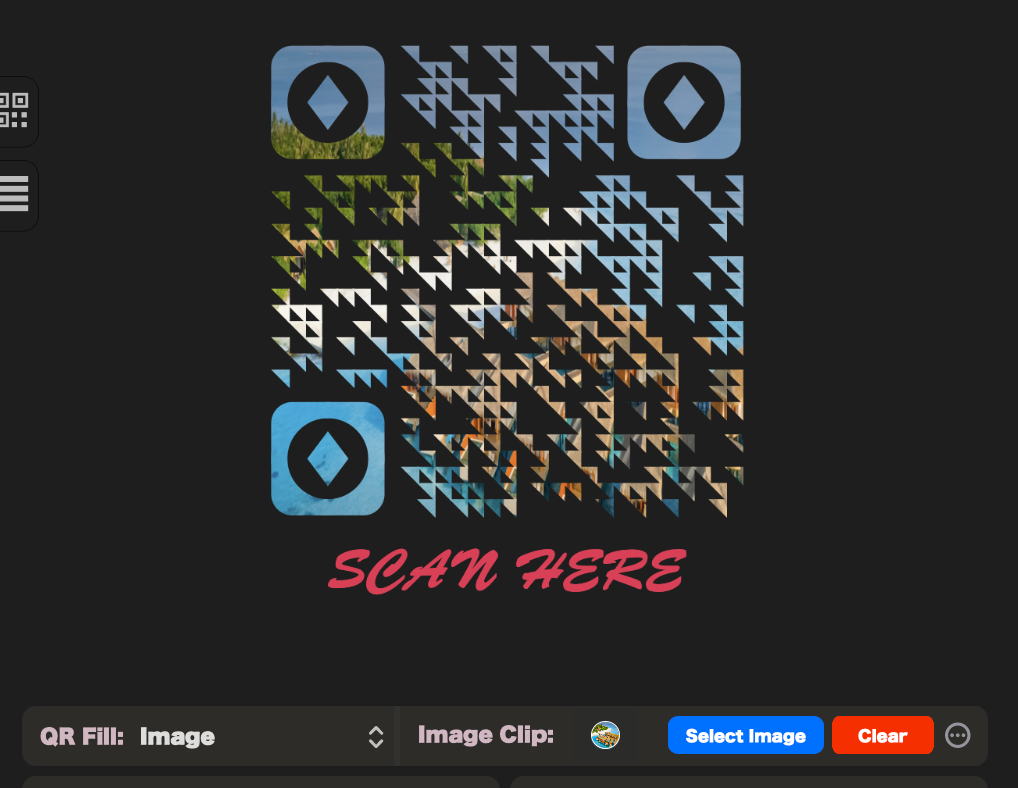
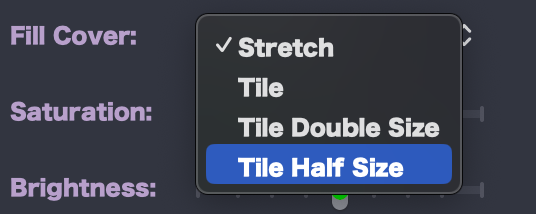
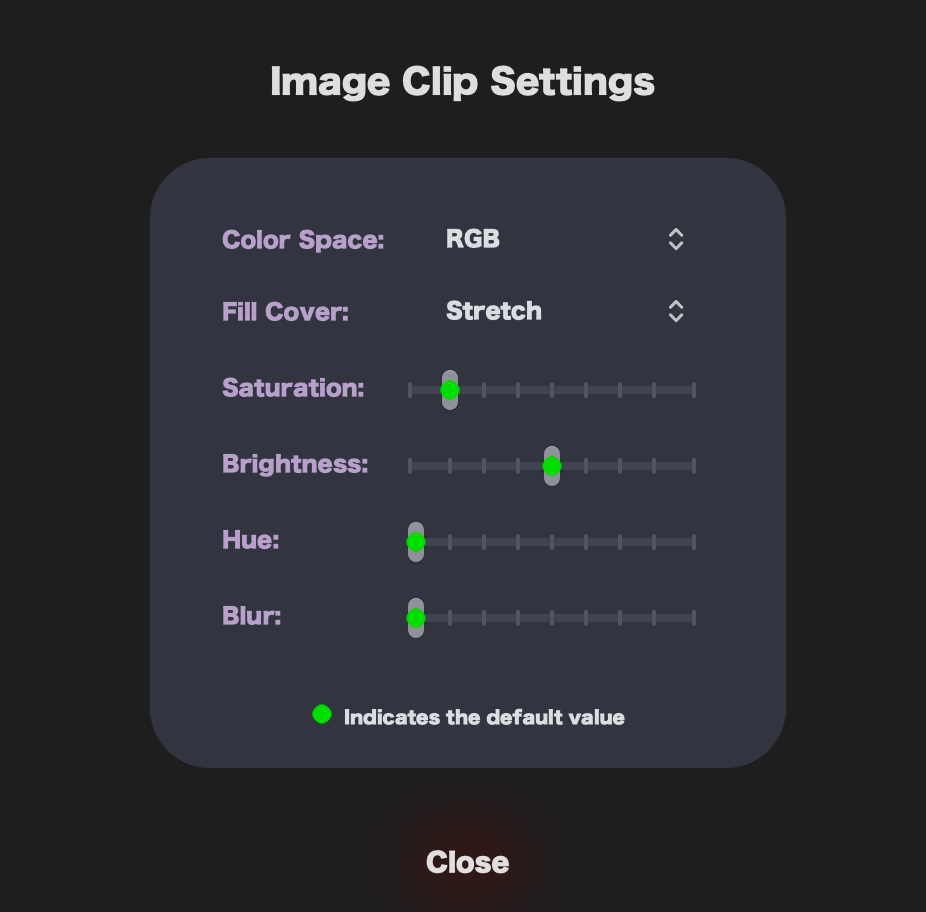
The round icon with the 3 dots next to the buttons allows you to open up additional settings for the image clip, it allows you to set the fill cover, for example you may have a small pattern graphic you want to repeat, in this case you can choose one of the tiling options, whereas if you are using a photo you may want to use the stretch setting:
The settings also allows you to change the saturation, brightness, hue and blur.
Color Space
QR Generator Factory allows you to set the color space with RGB, CMYK and Grayscale settings, this can be set in the design window or on the export window. Note not all formats support all color space options, the export window will only show the options for the formats which support it.

Reliability Level
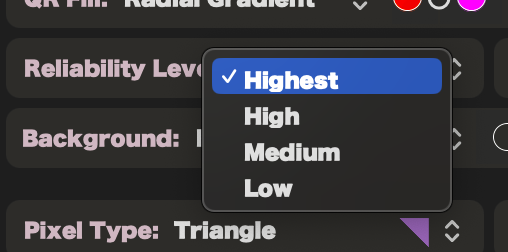
QR Generator Factory allows 4 reliability levels, with low producing the smallest QR code but the highest chance for scanning issues with the QR gets damaged, whereas ‘Highest’ produces the biggest QR but allows for more of the QR to get damaged and still be scannable. We recommend using ‘Highest’ when adding a logo or using some of the more abstract pixel types.
Safe Zone Margin
QR Generator Factory has a safe zone margin this can have two use cases, the first is it creates a safe zone around the QR where nothing should be printed, this helps with scanning. The option is for those who want to create a caption but don’t want to use the top or bottom padding option as they want even padding around the whole QR code.

Background Fill
QR Generator Factory has 5 options for background fill, these work exactly the same as the QR Fill options (except for Background Fill has a transparent option). Please check out the QR Fill section to see how the different options work.

Pixel Type
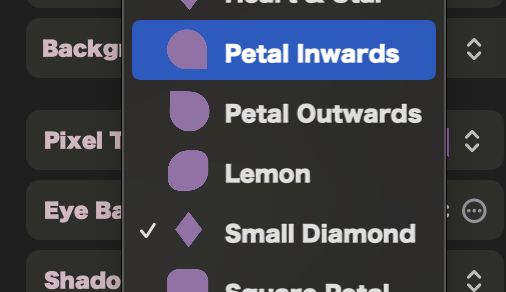
QR Generator Factory has a huge range of pixel types which is always growing, the interface shows you what each type looks like to help you choose which pixel type you will like to use.

Eye Settings
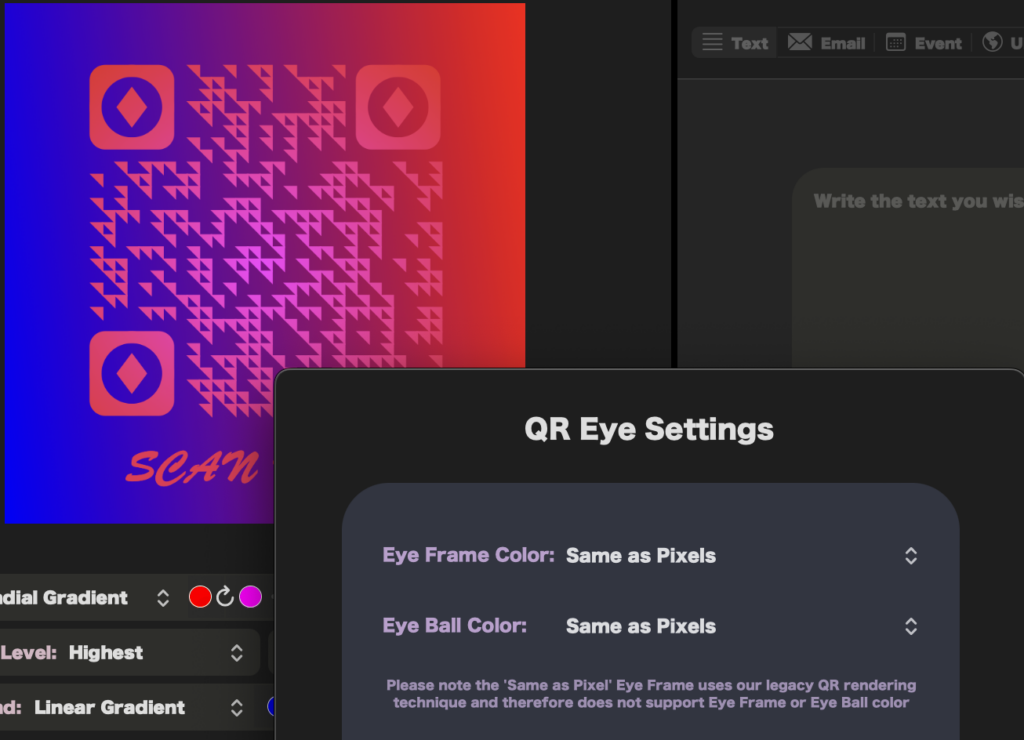
QR Generator Factory has a good range of Eye Frame choices which can be used with any Eye Ball type. Apart from ‘Same as Pixel Type’ which makes both the frame and eye ball the same as the pixel type.

QR Generator Factory also has a good choice of Eye Ball types:
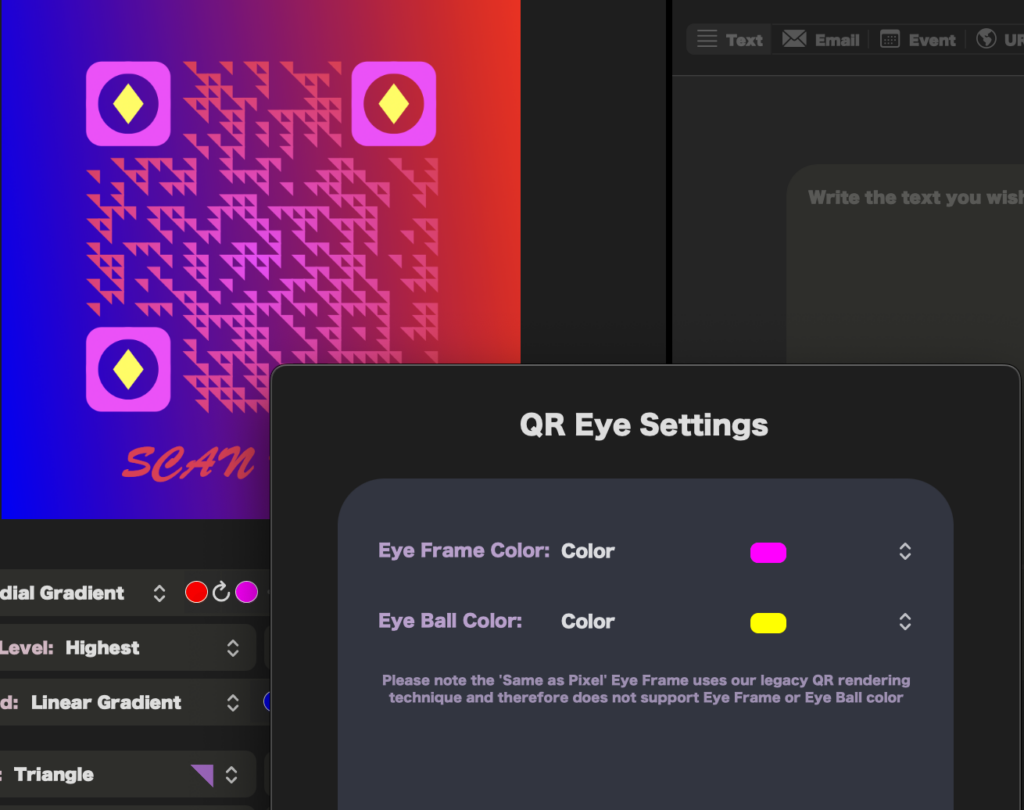
Both the eye ball and eye frame can have their colors set different from the main QR code (apart from the ‘Same as Pixel Type’ setting).
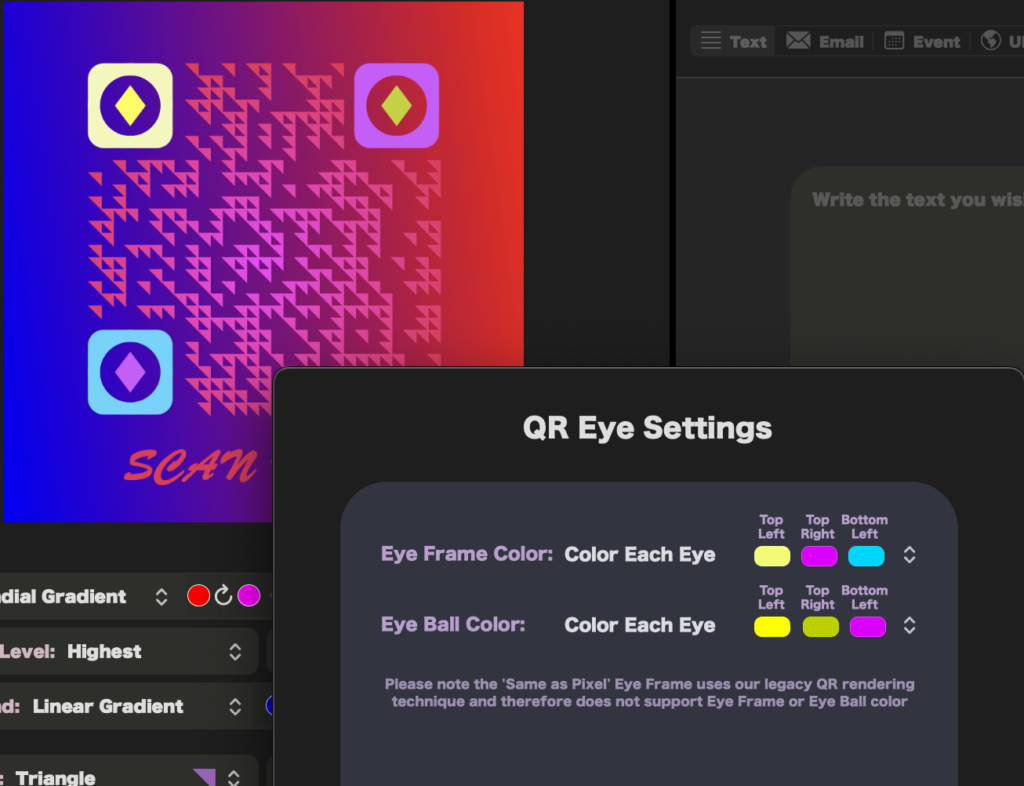
And every eye type can even be set separately!
Logo
You can add a logo by choose the select image button and choosing an image, when an image has been added you will notice a round icon with 3 dots appear, this is to open your logo settings.

Logo settings offers a wide range of choices, it allows you to modify the saturation, brightness and hue, it also allows you to rotate, size and position the logo.
Beyond this you can also choose if you want the logo in front or behind the QR code and if you want to center pixels cleared to make your logo effect look even more fancy!
QR Generator factory also supports smart path bordering for your logo, this means even the most complex shape logos can have a nice border.
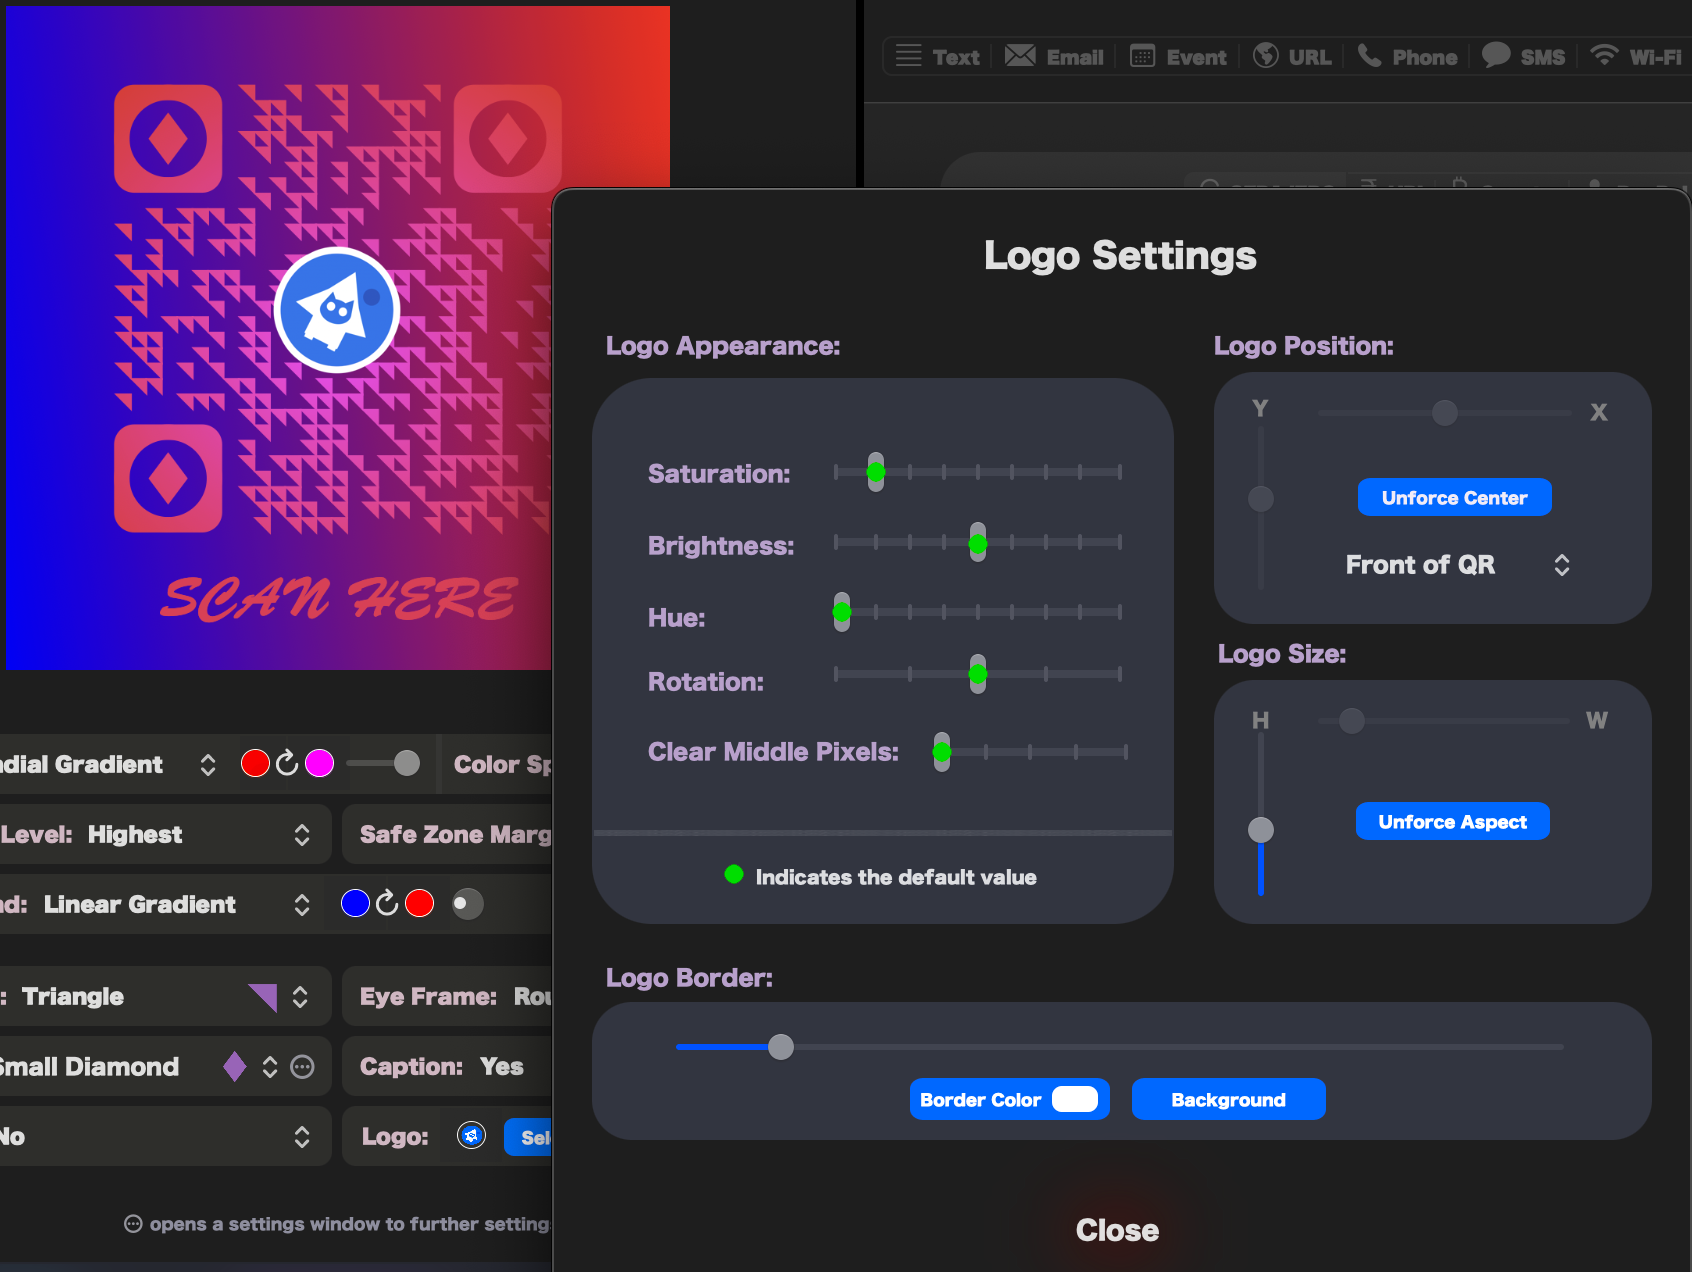
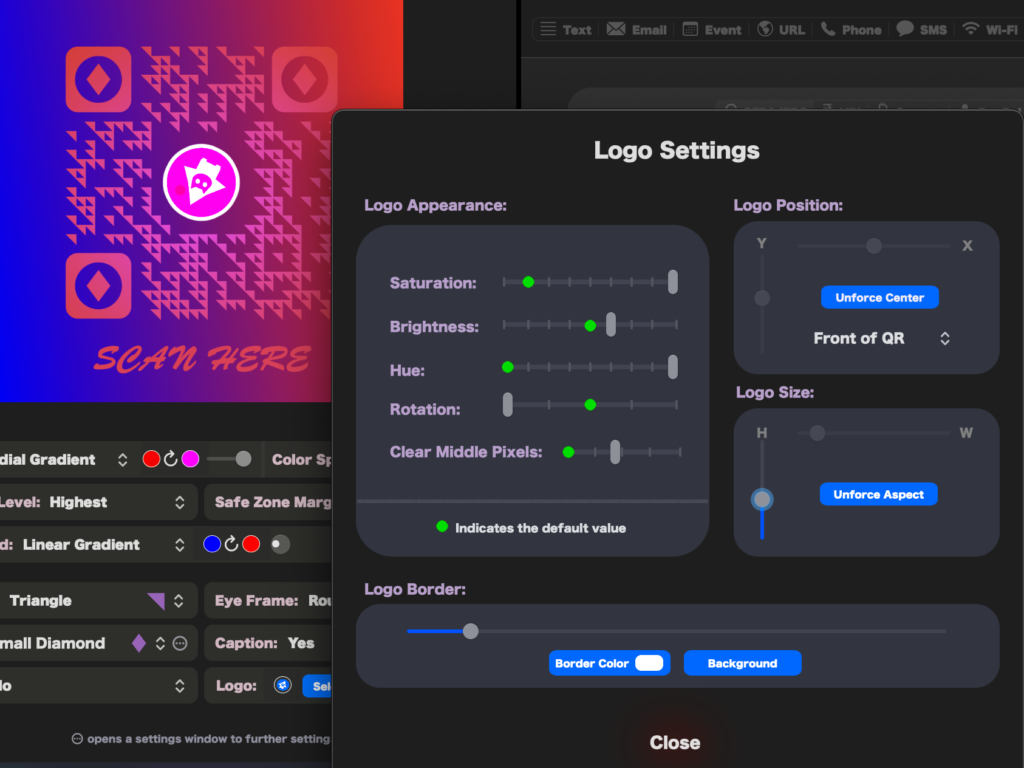
An example with the clear middle pixels, rotation, hue, saturation and brightness settings changed:
Caption
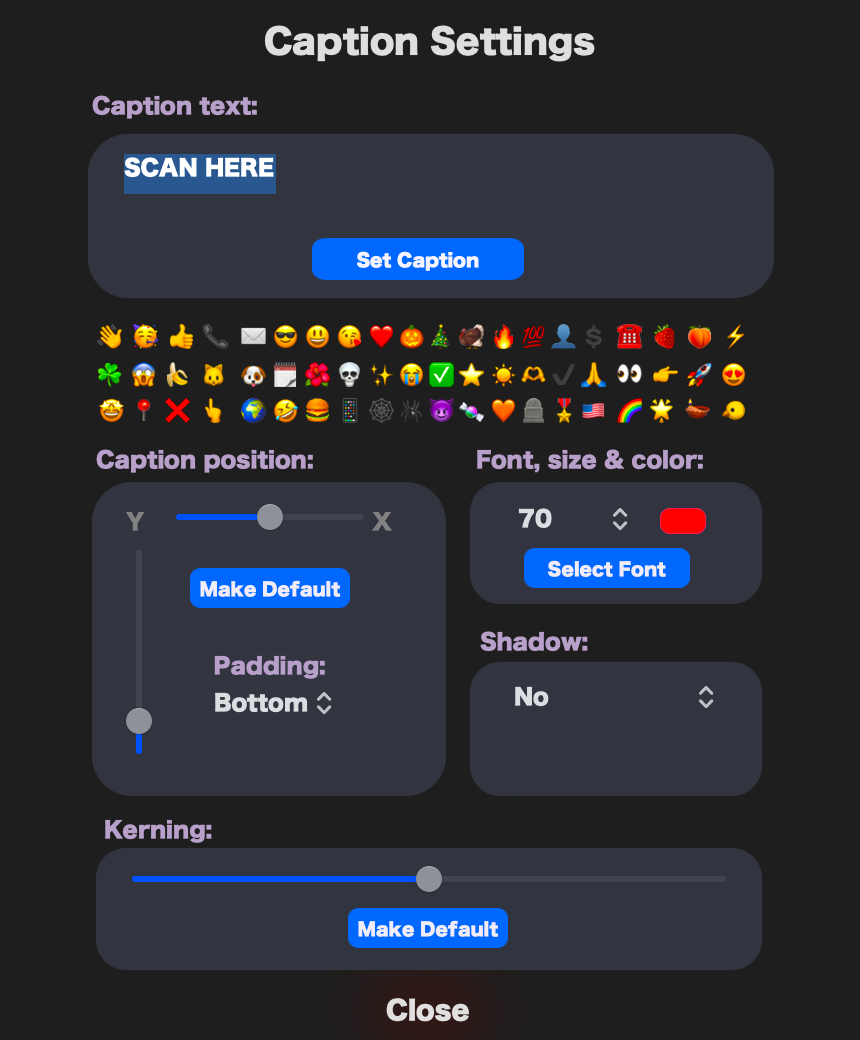
A caption can be added to your QR, press the circle icon with 3 dots for caption settings, this icon will appear when you set caption to ‘Yes’.
Captions support any font on your system, any color and even supports shadows! You also have control of its size, position and kerning!

Shadow
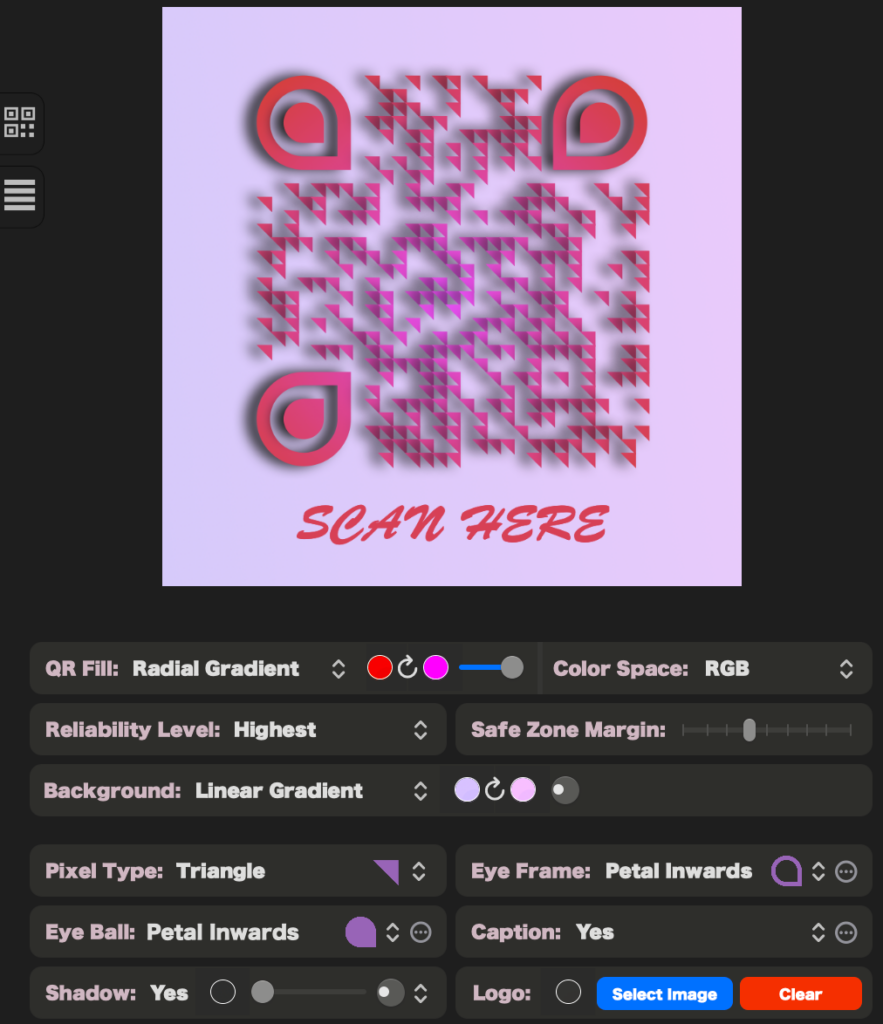
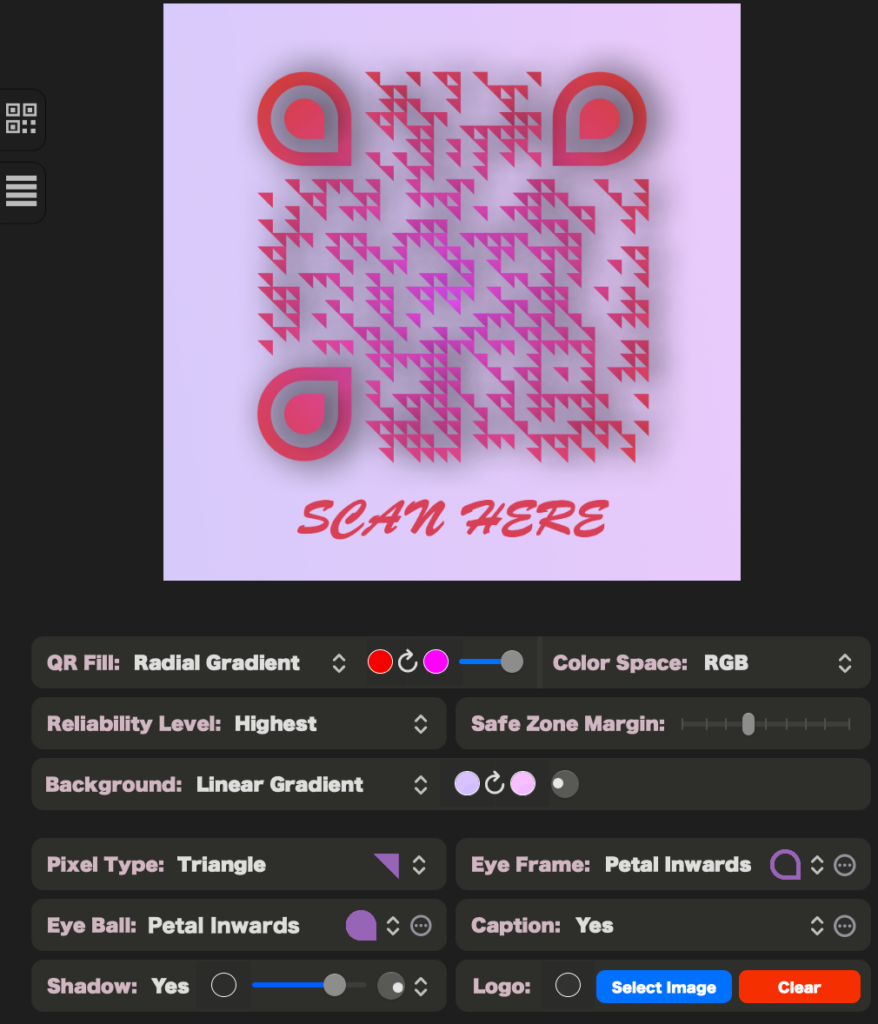
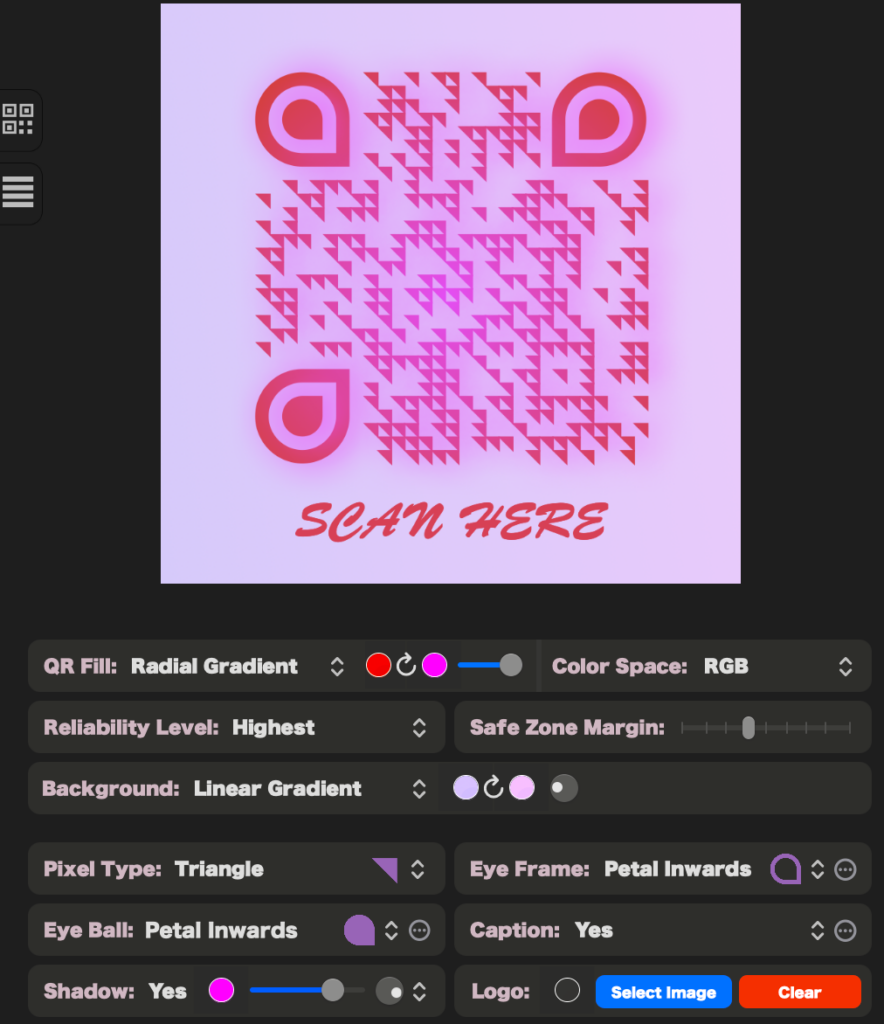
QR Generator Factory has a shadow option, you can choose the shadow color, the blur radius (using the slider) and the direction of the QR using the circular slider. You can ever use a color and a high blur radius to achieve a glow effect with this setting.

Randomizer
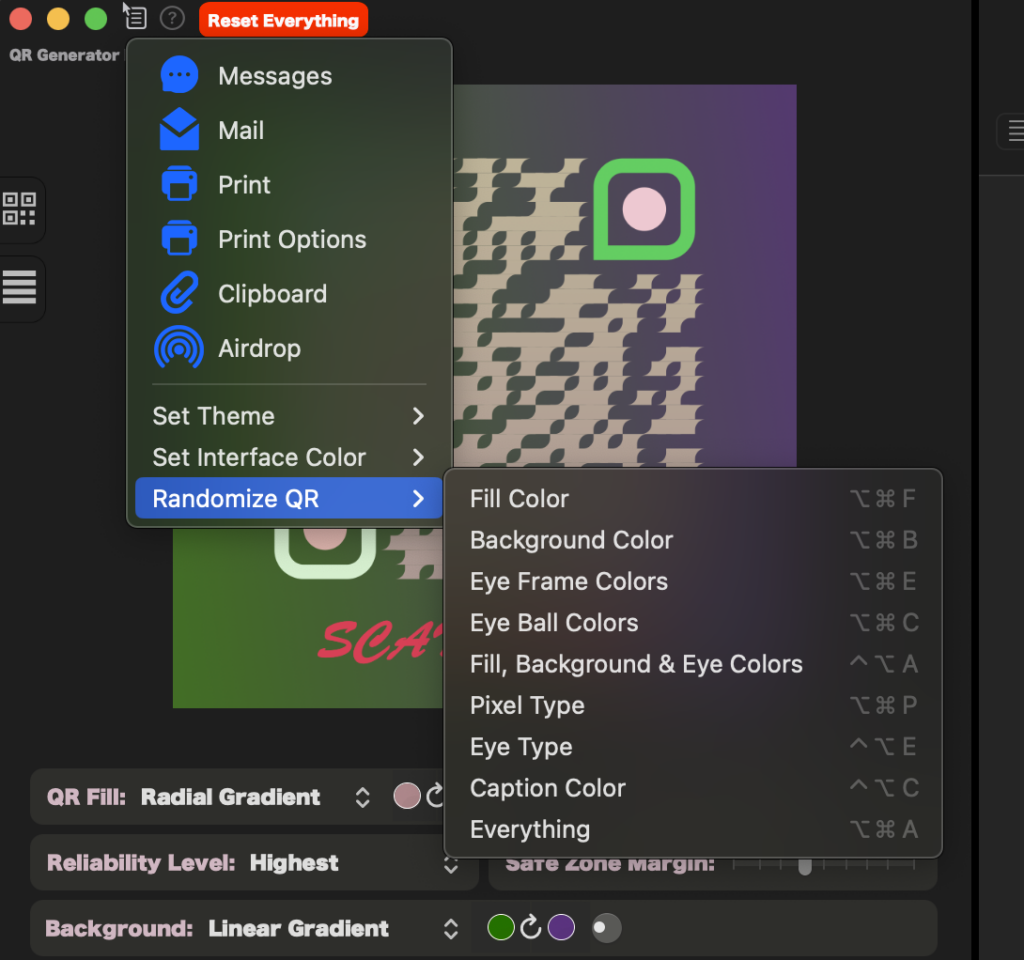
Out of design inspiration? Why not try our design randomizer! This can be found in the quick menu or in the design menu inside of the main menu.
The randomiser has options for a random fill color, random background color, random eye frame colors, random eye ball colors, combined random background fill and eye colors, random pixel type, random eye type, random caption color or randomize everything. All options have keyboard shortcuts and support undo/redo to really ramp up your design prototyping! The random options can also be used inside of the batch exporter!
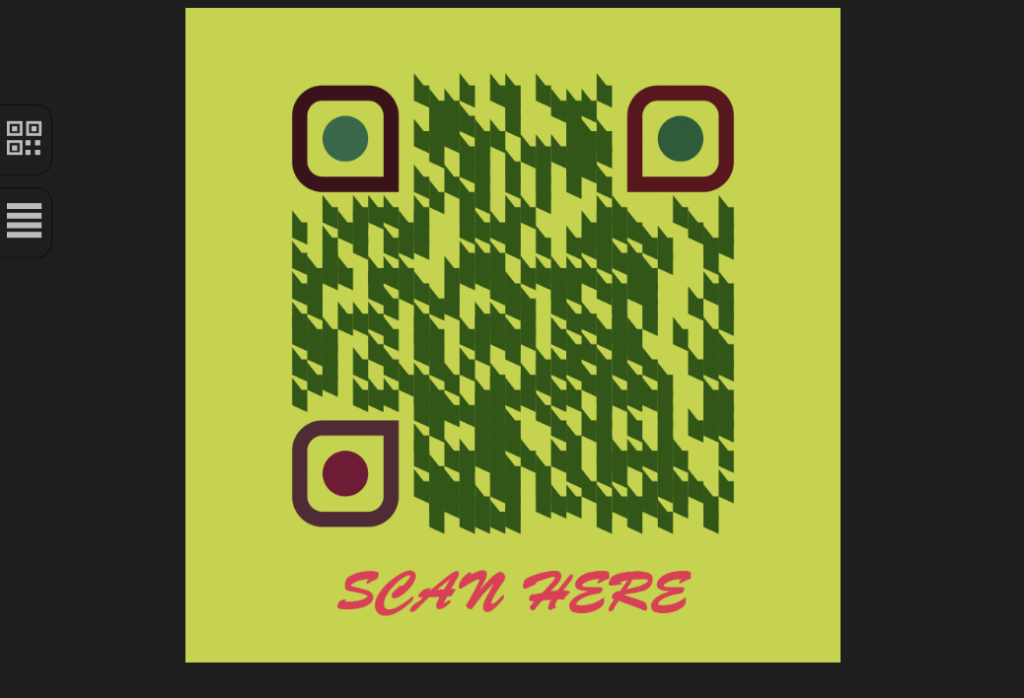
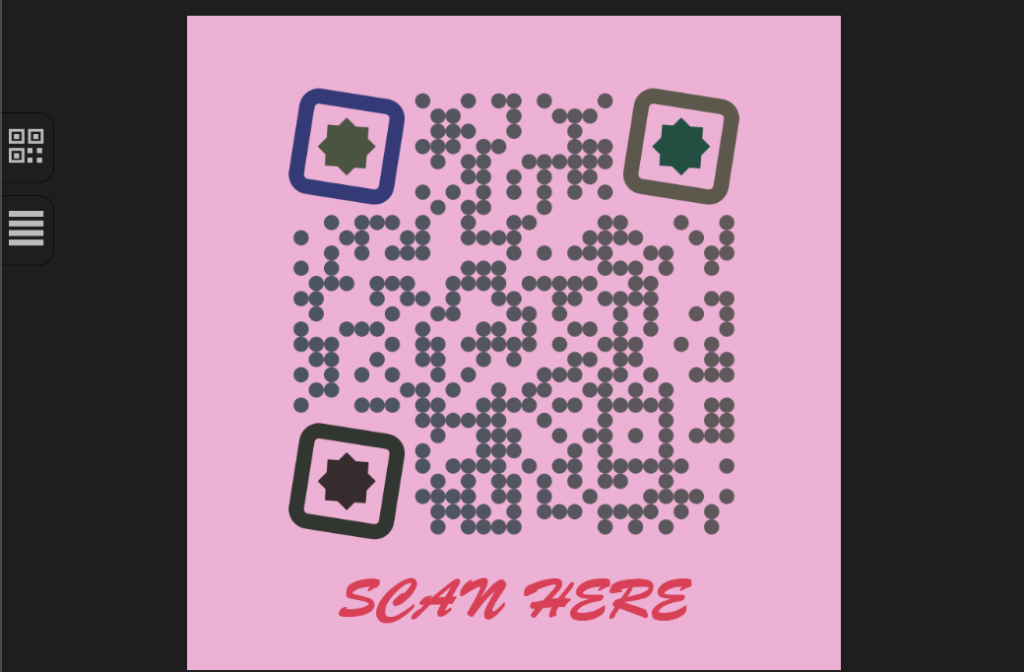
Raw Text / QR preview switcher
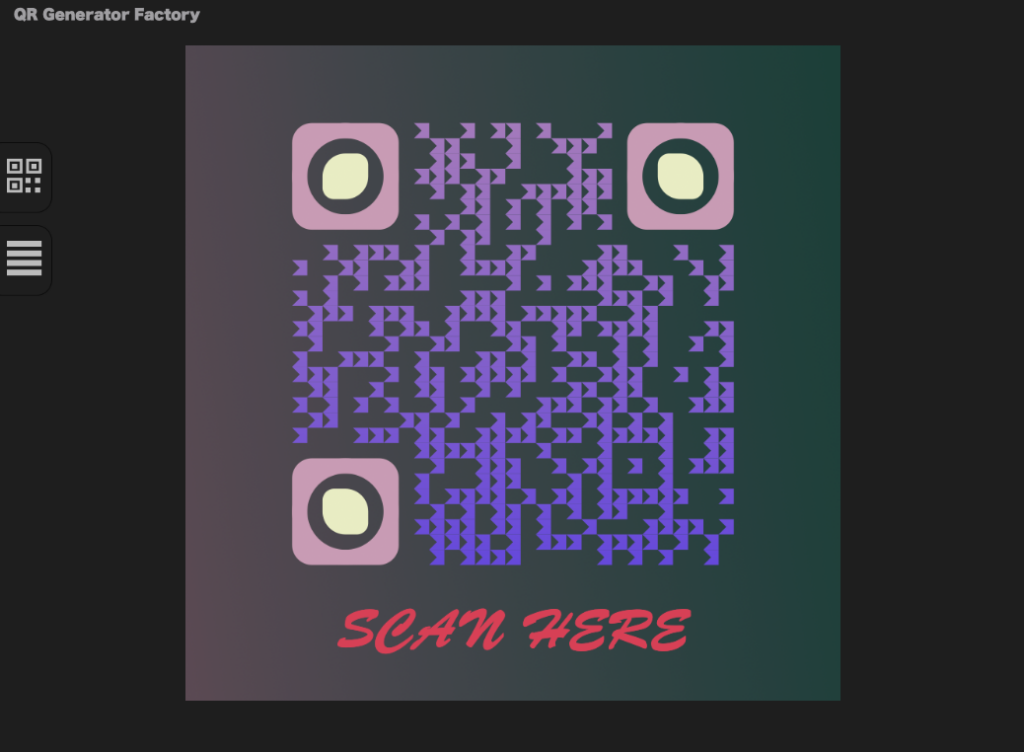
In later versions of QR Generator Factory the raw text is now shown by default to make the UI cleaner and allow for a bigger QR preview. You can switch between the QR preview and Raw Text using the side buttons.


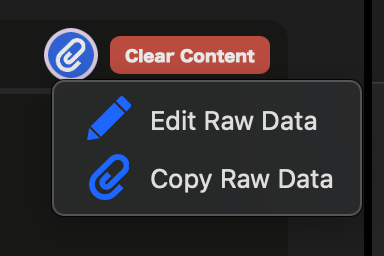
The raw data options provides an option to clear the data, edit the raw data and copy the raw data.
QR Verifier
QR Generator Factory has a built in QR Verifier so you don’t need to scan your QR codes to ensure they are scannable! The QR verifier is in the right hand corner of the application and shows green when verified and red when not verified.

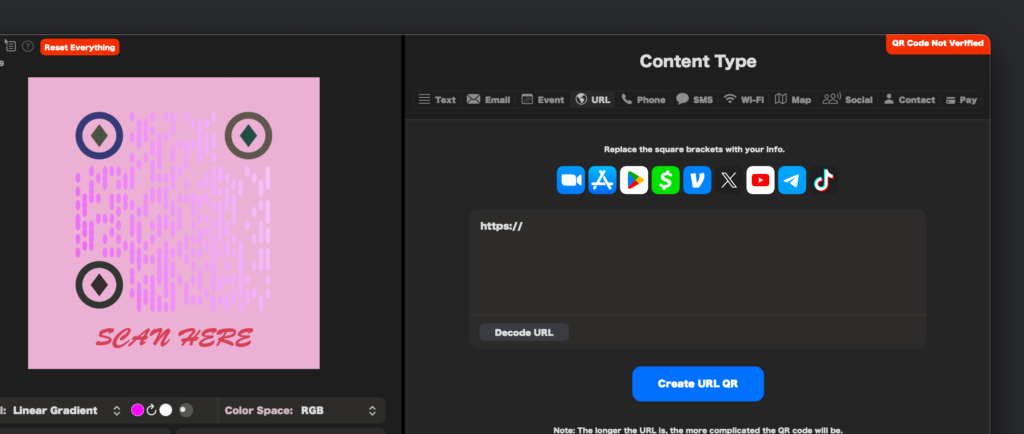
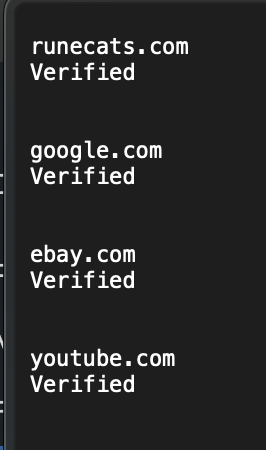
During a batch export it’s not possible to check them in this manor, so during a batch export the verifier sends this information and creates a document which is exported along with all the QR codes so you can ensure everything has exported correctly!
Theme & Interface Color
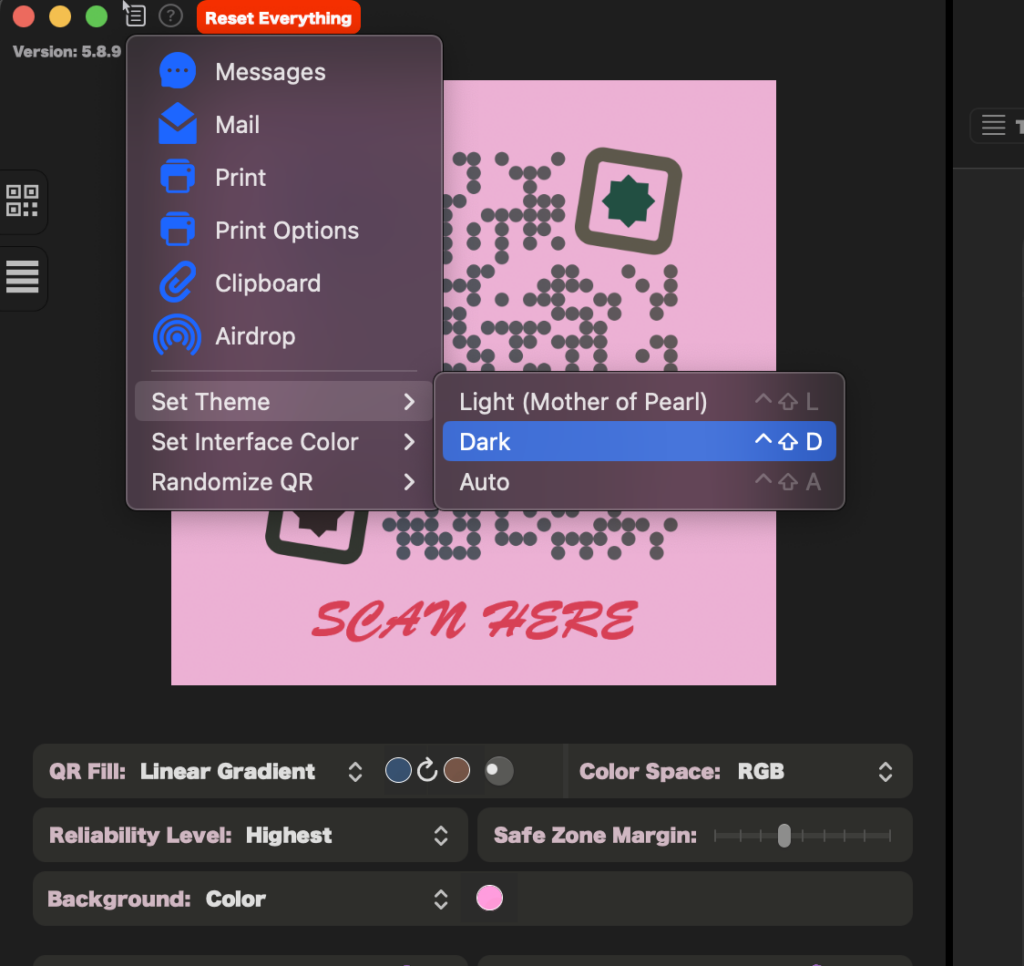
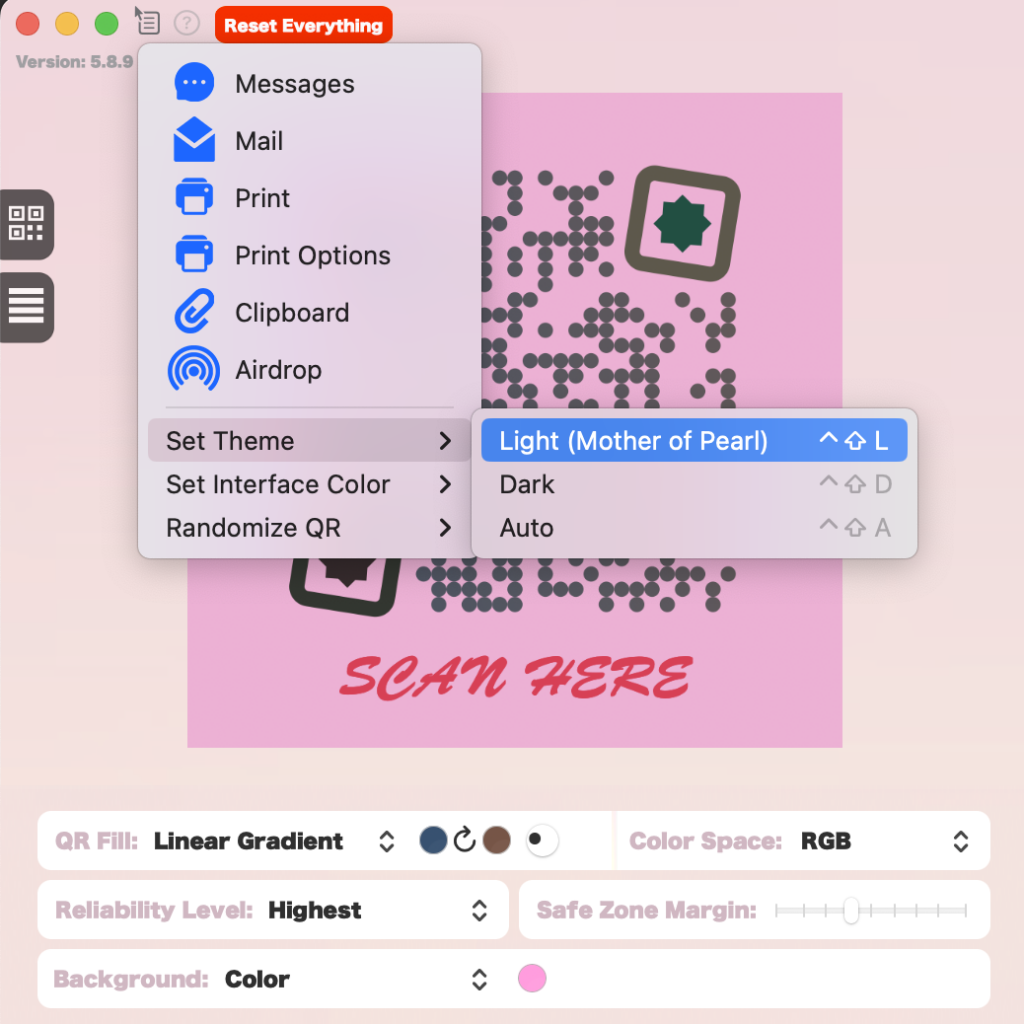
QR Generator Factory offers two themes, but 3 theme choices, Dark mode, Light Mode and Auto (automatically adapts to system settings). The theme settings can be set from the quick menu or from the window menu inside the main menu.
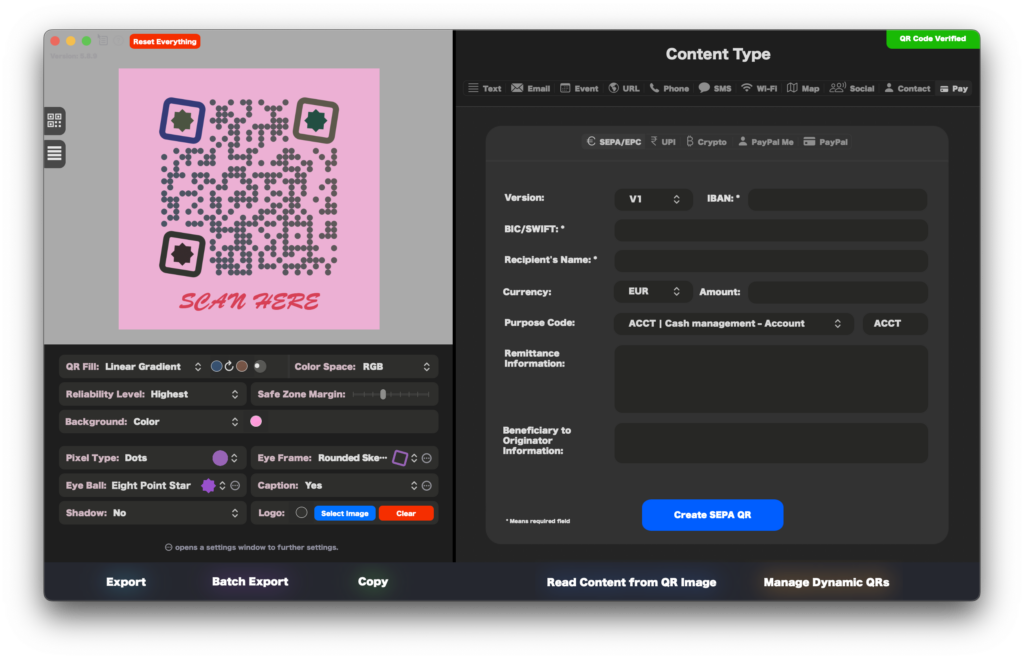
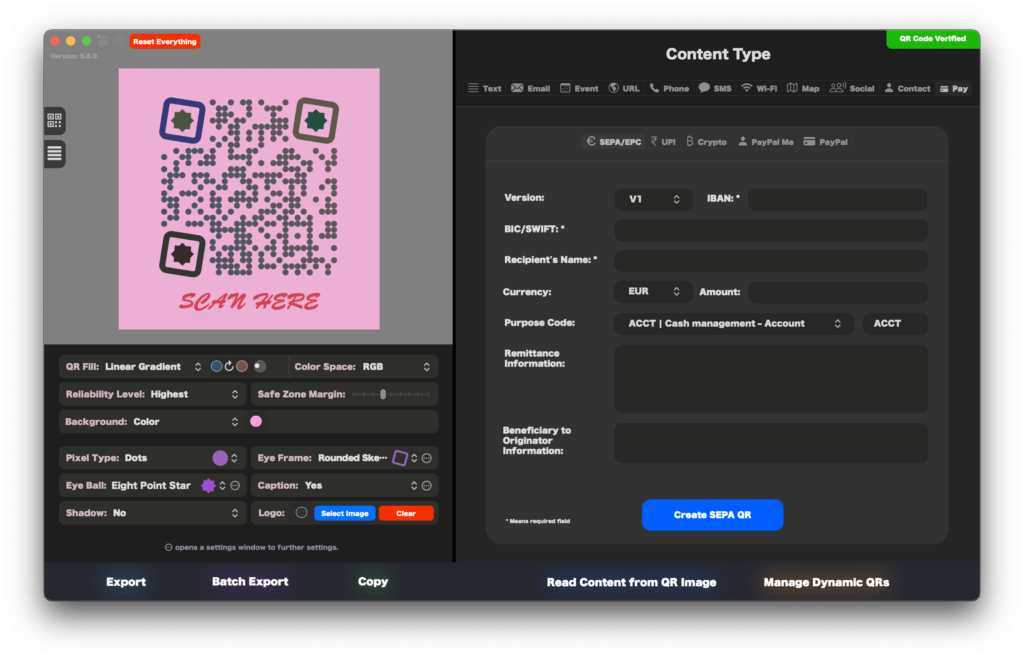
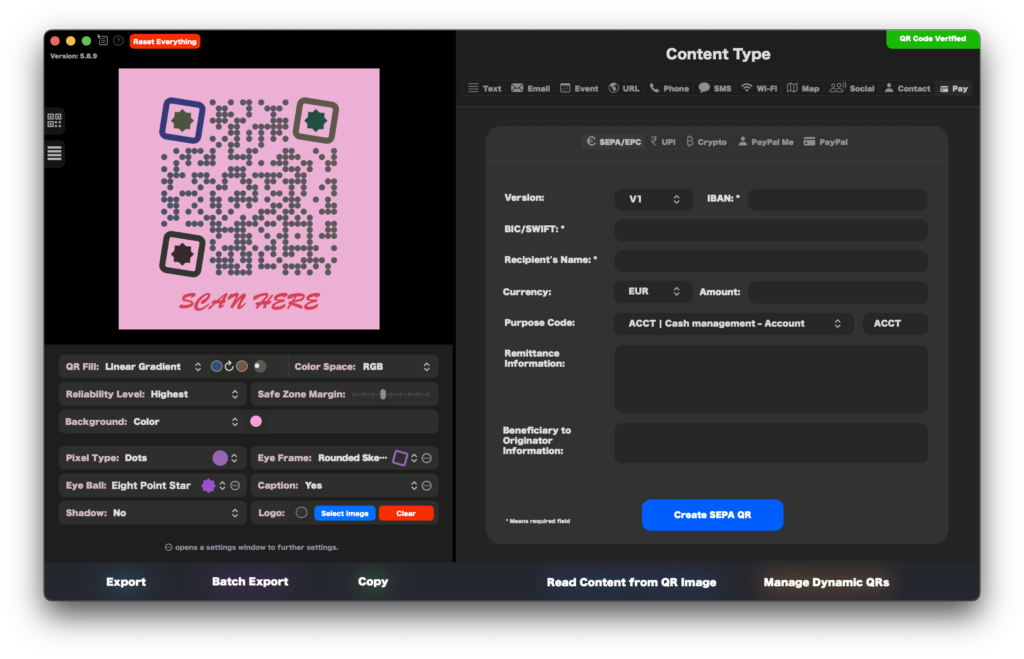
Sometimes designing a QR of specific colors may be difficult with your theme colors, so aside from the default color QR Generator Factory offers 4 interface color options to ensure you can easily design:

Export
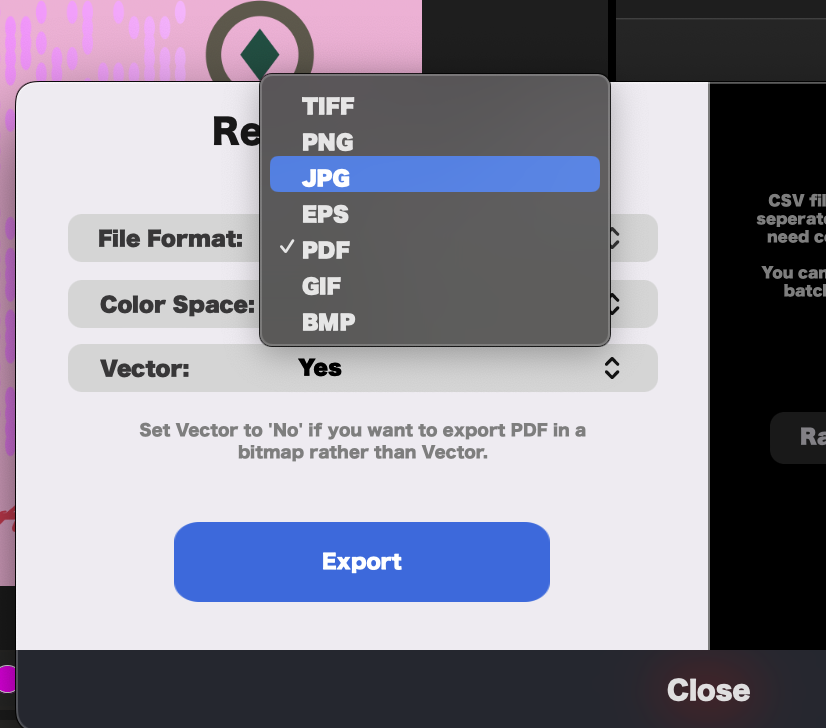
QR Generator Factory offers two export methods, Export and Batch Export. Both are on the same window, and both offer various file formats; TIFF, PNG, JPG, EPS, PDF, GIF and BMP. Different formats have different options including color space, vector settings, DPI etc.. the options relevant to the file format will show when you select it. 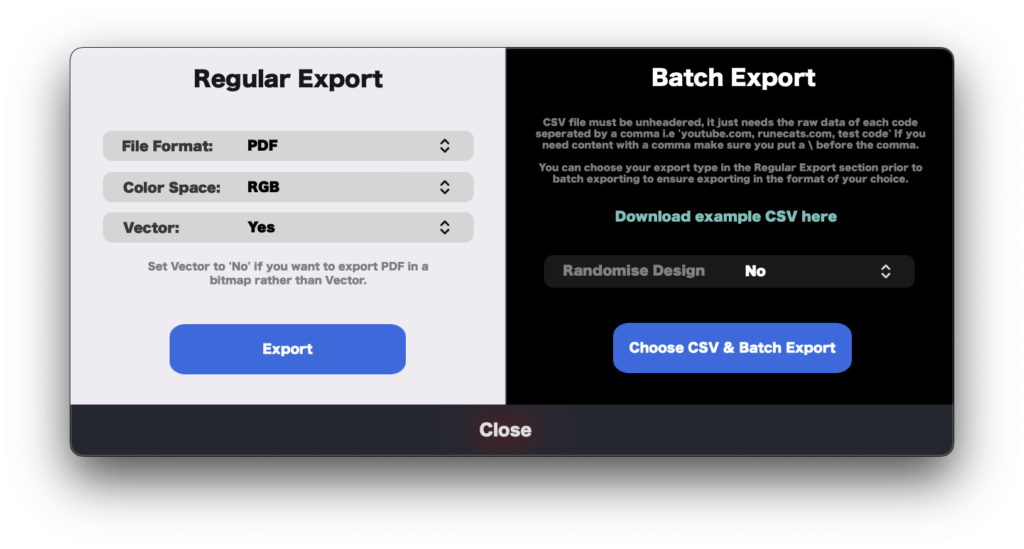
For Batch export you only need to use an un-headered CSV file seperated by commas (any content which requires commas must be escaped using \ before the comma. Once selected you must choose an output location and then the application will start creating all of the QR codes! There are randomizer options available so you can have a different random design each time. There is also an example CSV in case you need help to see how it should be setup.
Dynamic QRs
Have you ever put out a flier with a QR code and then realised you used the wrong link? Doh! Well with Dynamic QR’s this is a thing of the past. Our Lovebyt.es service is free to all QR Generator Factory users, it reduces the size of the QR code due to the shorter URL’s (resulting in neater looking QR codes), it allows you to change the QR code so you can fix a mistake or recycle/repurpose old QR codes. And what’s even better is you can track the scans, with metrics such as geolocation, scans per day, per week, per month, year and all time.

Dynamic QR Codes are available for URL, Email, Phone and Social content types, and can be created from any of those content type panes.
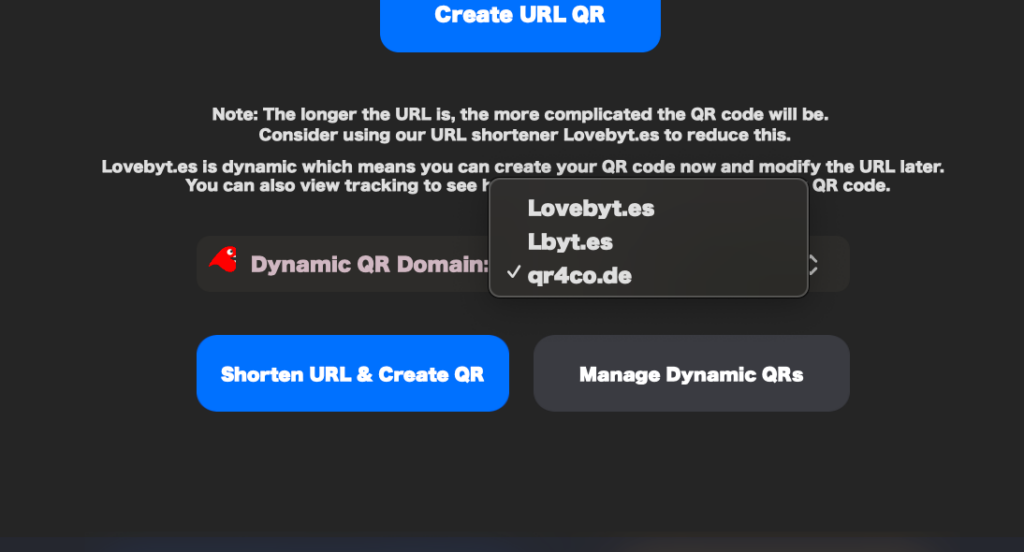
On the URL content type pane, you have the option to set the short domain for your dynamic QR – there is our classic Lovebyt.es – but also Lbyt.es our new shorter domain for Lovebyt.es. We also have QR4Co.de which is another cool domain, the choice is yours!
So how do we manage / change or view the tracking for the Dynamic QRs?
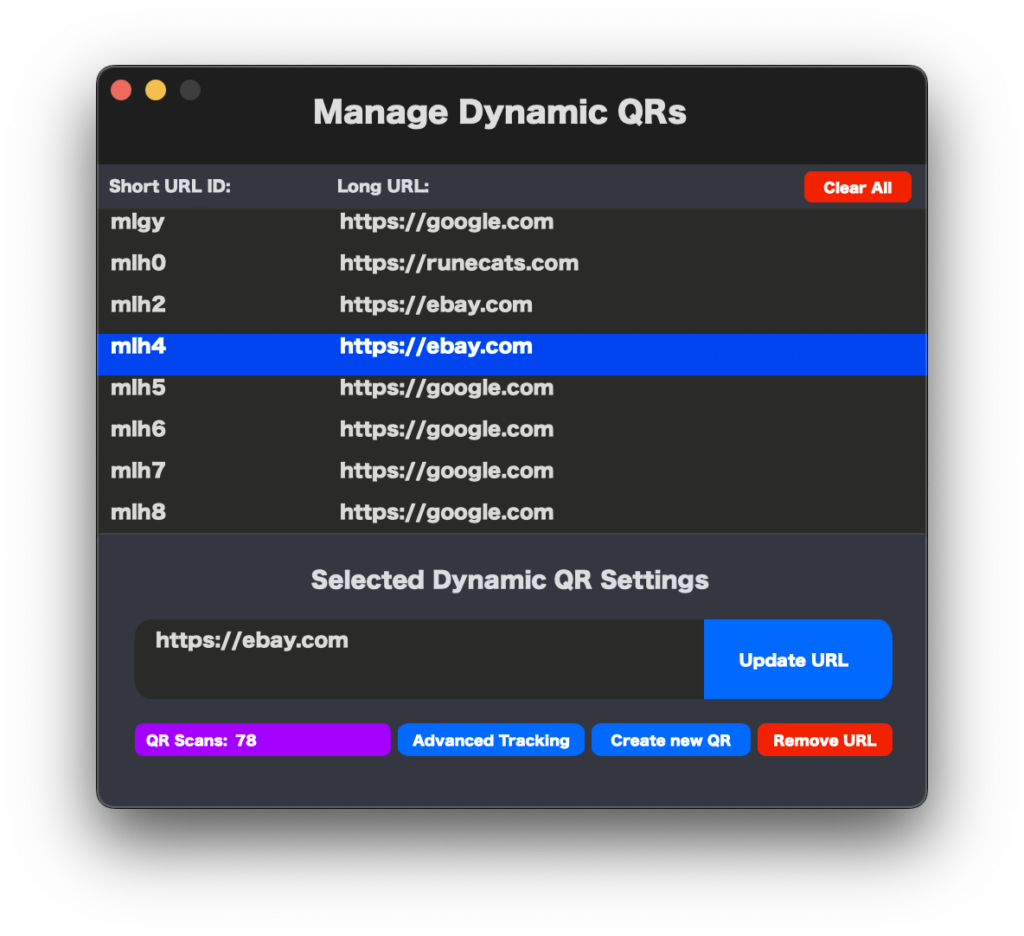
All content type panes which support Dynamic QR’s will have a Manage Dynamic QR button but there is also a button the the very bottom of the window glowing orange.
Once one of these are clicked the Manage Dynamic QR window will open, once opened you will see a window with all of your dynamic QR’s (identifiable by the short and long URL). Click on the one you wish to edit/track you will then be able to see how many scans it has had, have an option to open the advanced tracking window for the dynamic QR code, you will have the option to create a new QR code from the existing dynamic QR or remove it entirely from your list (this doesn’t delete the URL, but helps clear up the window if you’re no longer managing that dynamic QR).
Content Types
QR Generator Factory has lots of different content types for different purposes these include; Text, Email, Event, URL, Phone, SMS, Wi-Fi, Map, Social, Contact, Pay (includes SEPA, UPI, PayPal, PayPal Me and Crypto).
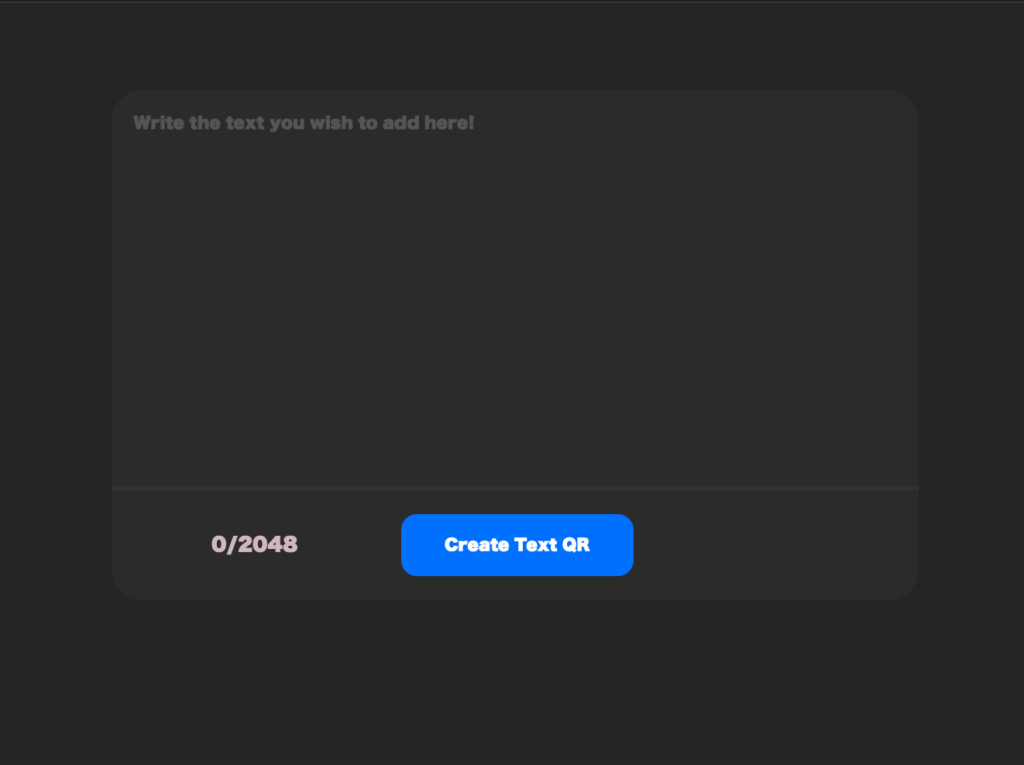
For the text type simply add whatever content you wish, there is a character count with limit available.
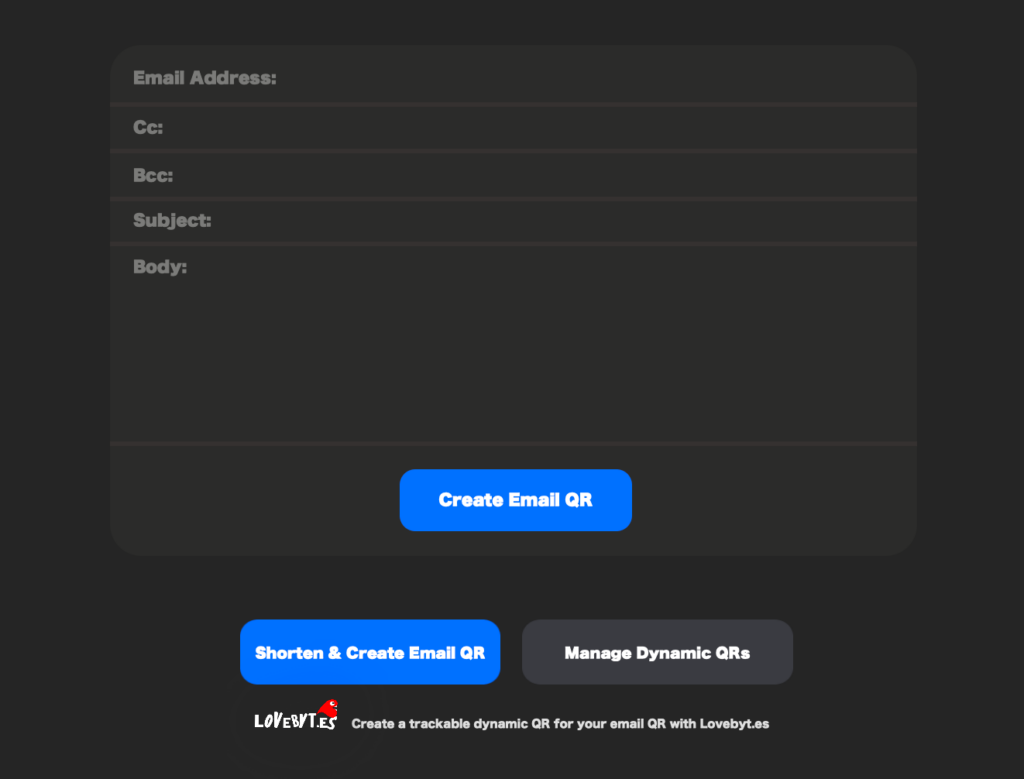
For the email type simply add the email, carbon copy, blind carbon copy, subject and message body. This pane gives you the option to create a dynamic QR code.
For the event type simply add the event name, location, start time, end time, description and alert time. This also gives you the option to import a calendar ics file instead.

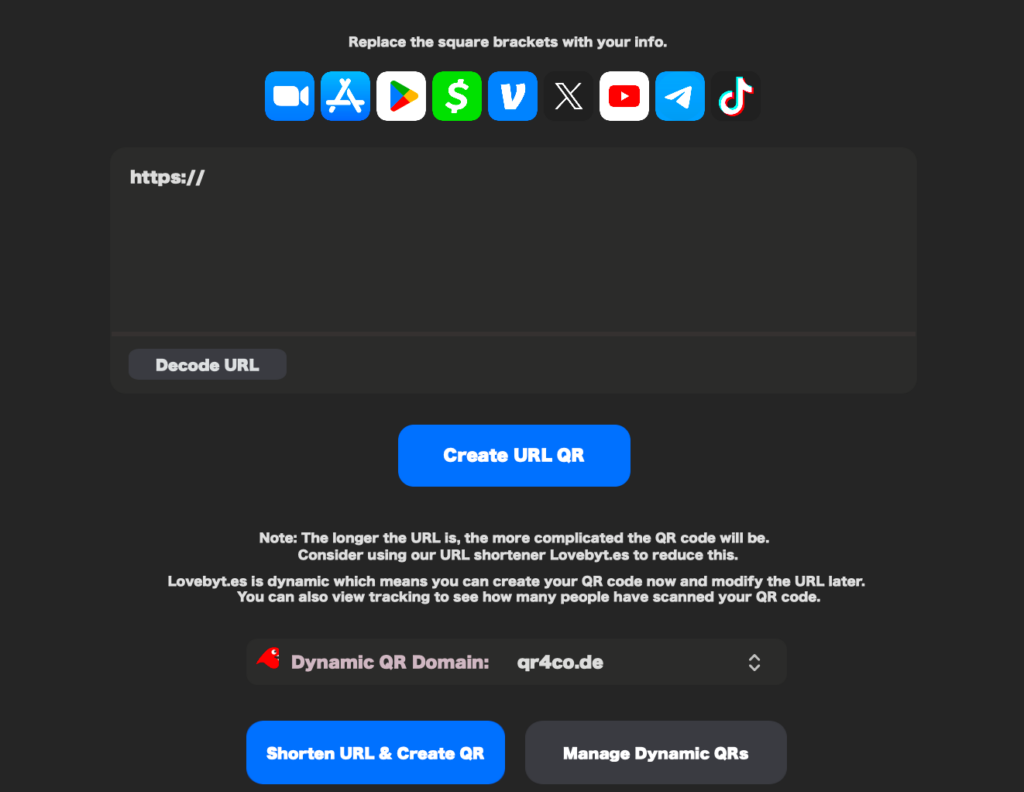
For the URL content type you simply just add the URL, there are a few predefined templates such as Google Play and AppStore. Incase your copied URL is encoded we have a decode option to reduce the size and ensure the link is scannable. This pane gives you the option to create a dynamic QR code and define the Dynamic QR domain name.
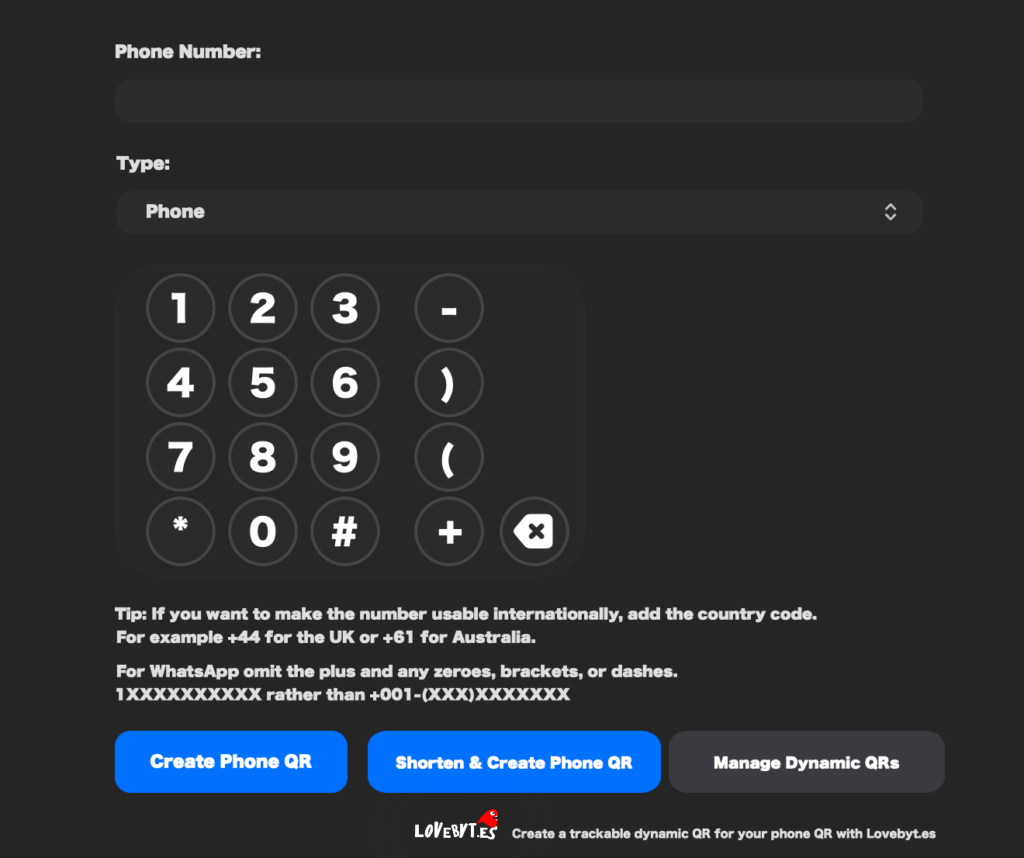
For the Phone content type you simply just add the phone number, And type (Phone, WhatsAp, Skype, FaceTime etc…) There is a phone dialler in case you wish to enter your phone number in this way. This pane gives you the option to create a dynamic QR code.
For the SMS content type you simply just add the phone number and write the message. You can then choose to create as a traditional SMS, WhatsApp or Viber.

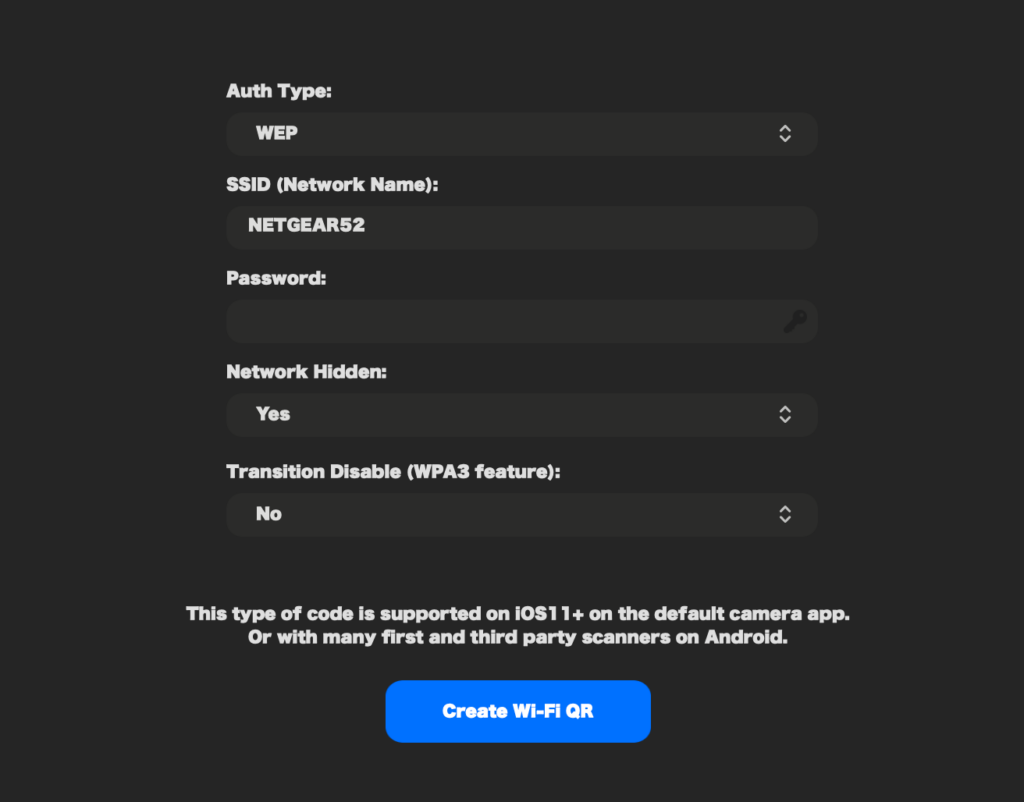
For the Wi-Fi content type you simply just add in all the details for your network type including Auth Type, SSID, Password, whether the network should be hidden, and transition disable.
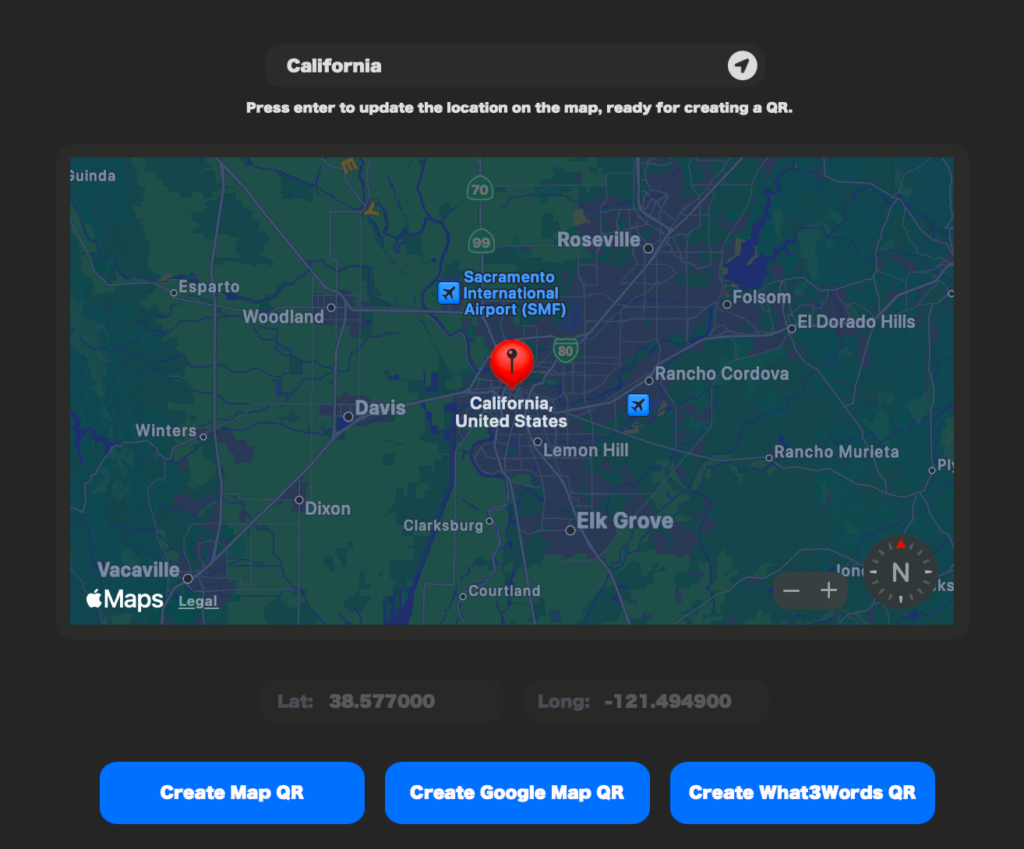
For the map type simply enter in a location or use the location button to use your current location. You can also add a location using the long lat fields. You will then have an option to create a typical geo map QR or alternatively create a Google Map or Whats3Words QR.
For the social type simply choose the social network from the dropdown and then choose the username. This pane gives you the option to create a dynamic QR code.
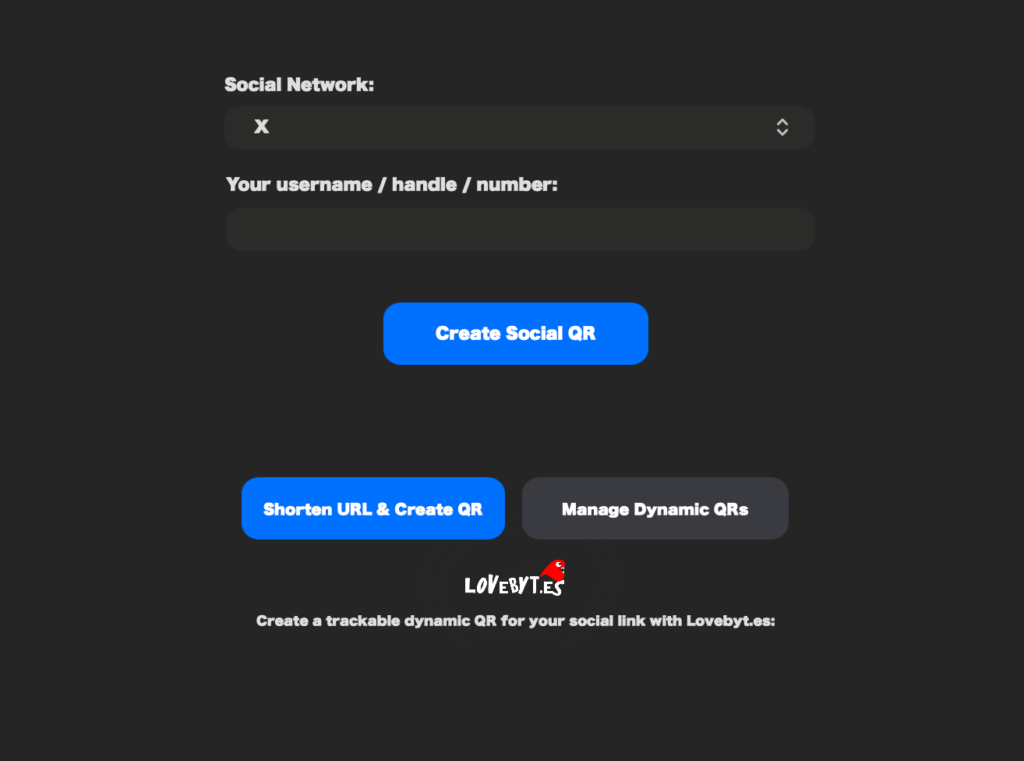
In version 5.9.4 you can now choose to have a logo added automatically, in the logo setting choose ‘ Don’t Add a Logo’ if you don’t wish to add a logo or don’t want an already selected logo to be replaced. Choose ‘ Borderless Logo’ if you wish to have the social logo with no border. Or lastly choose ‘Round Bordered Logo’ if you wish the logo to have a rounded border. Both the Round Border and Borderless options will clear the middle pixels for a better effect.
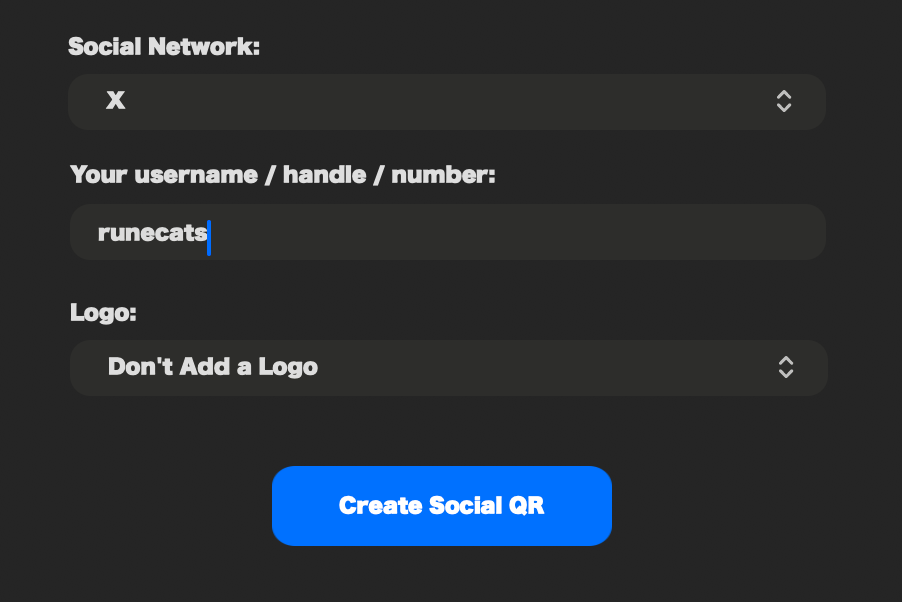

If ‘Don’t Add a Logo’ is not selected then you will see size options of S,M,L these will modify your logo settings and clear middle pixel settings to present your logo as Small, Medium or Large.

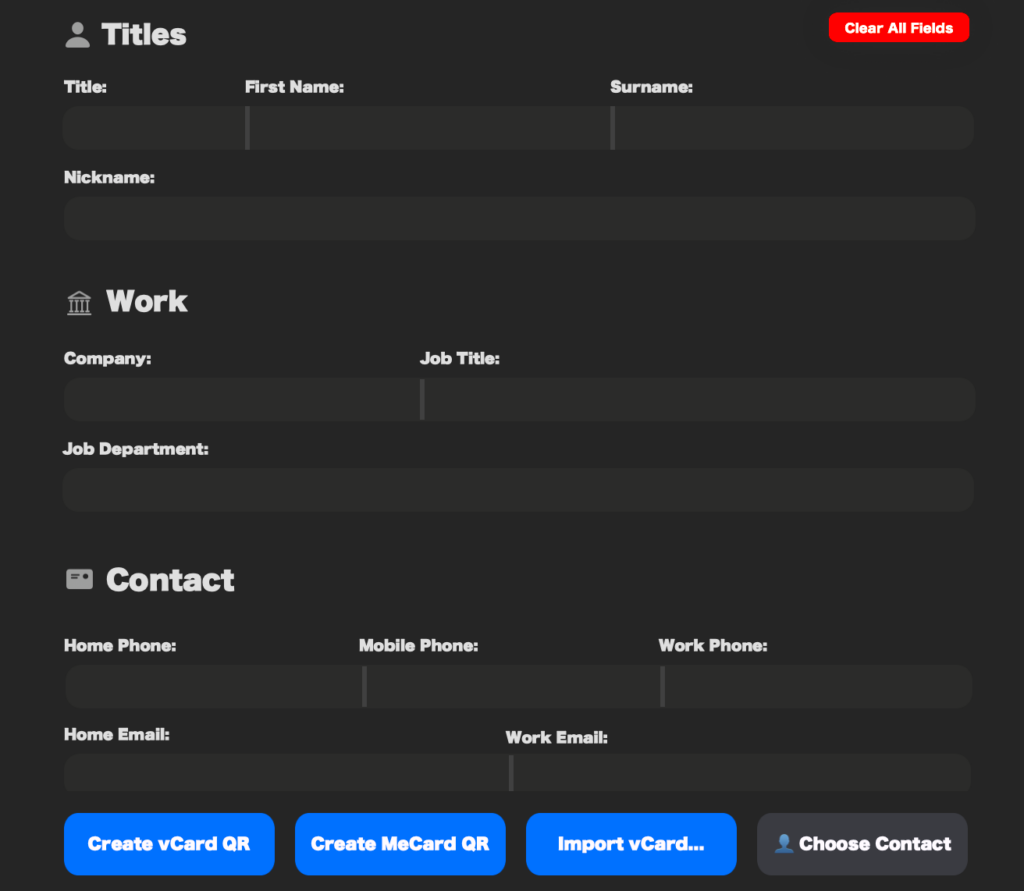
For the contact type simply enter in the fields for your contact card, we recommend only using fields which are relevant to you as the more data the larger and more complex the QR code gets . The contact type section has a huge number of fields which you can scroll through, there is also a clear all fields to quickly clear all of those fields. This option allows you to create the QR in Mecard or VCard format and allows you to import a vcard file or select a contact from the contacts app.
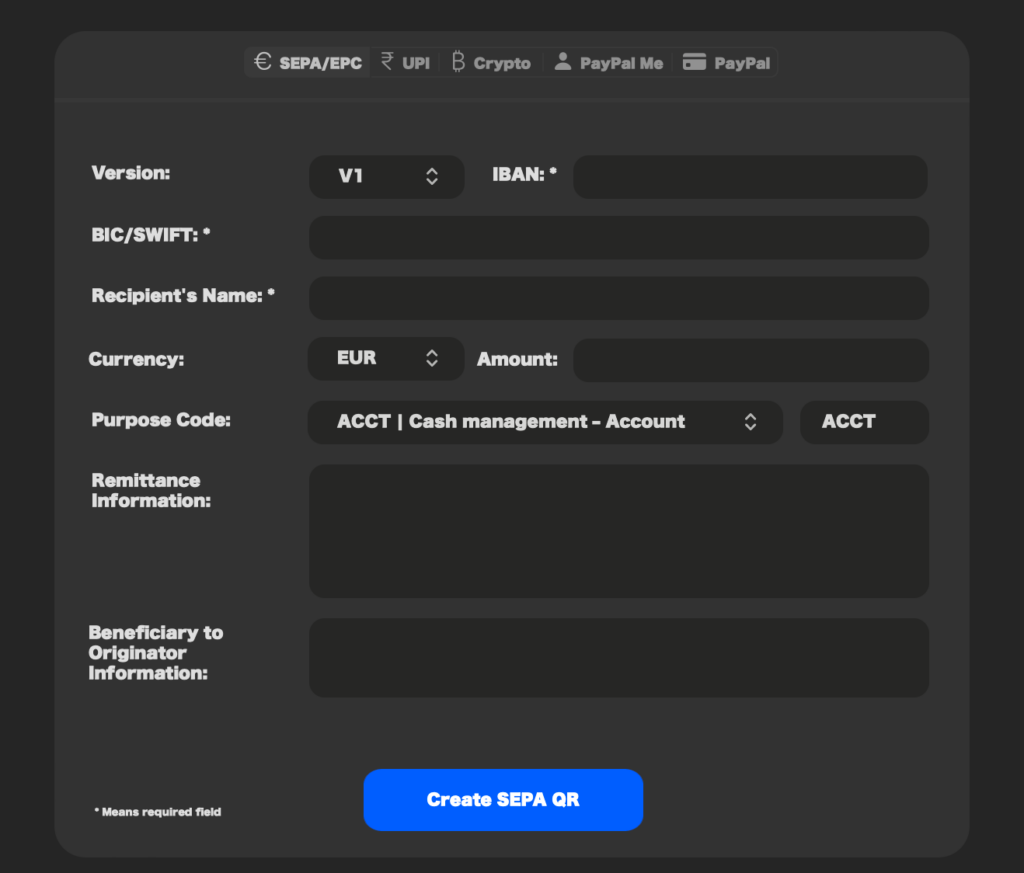
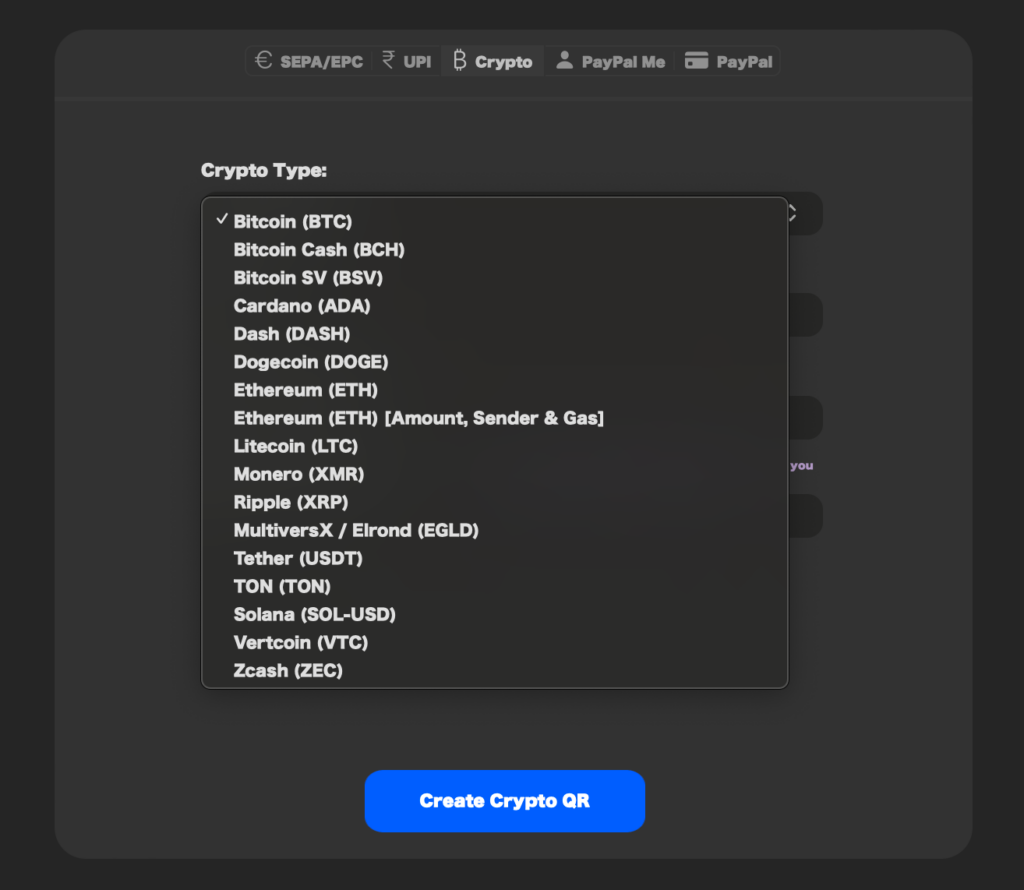
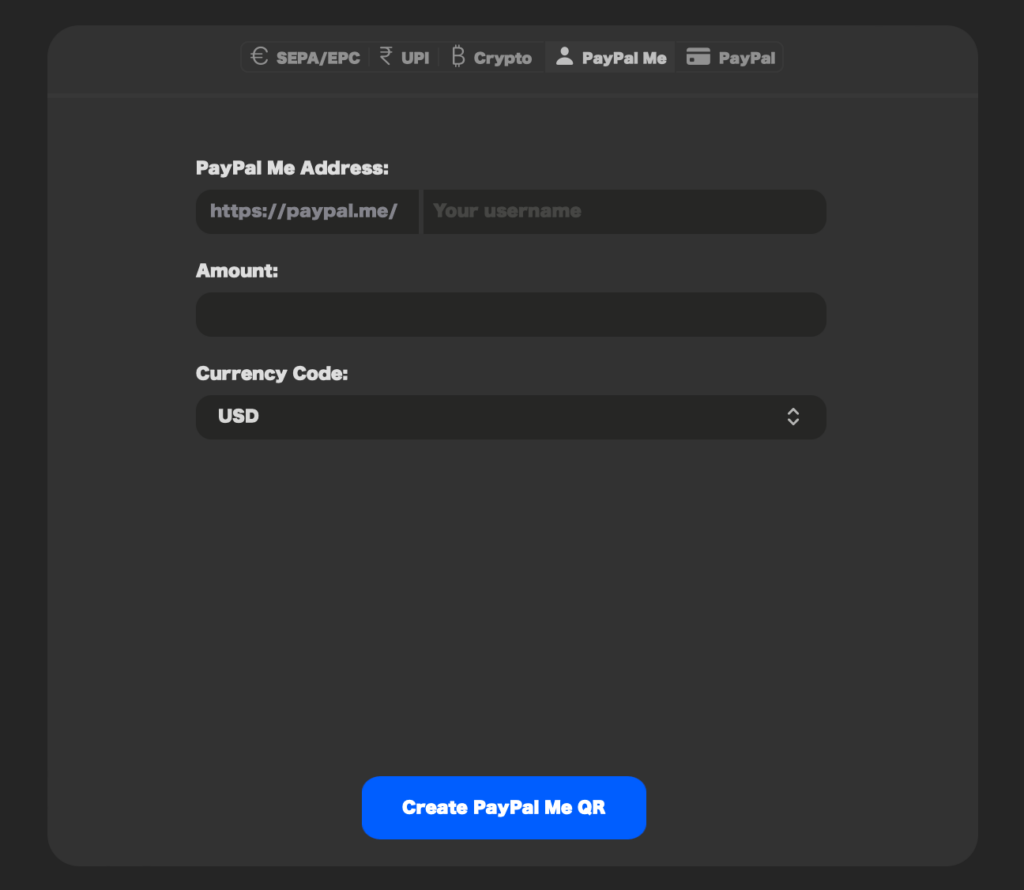
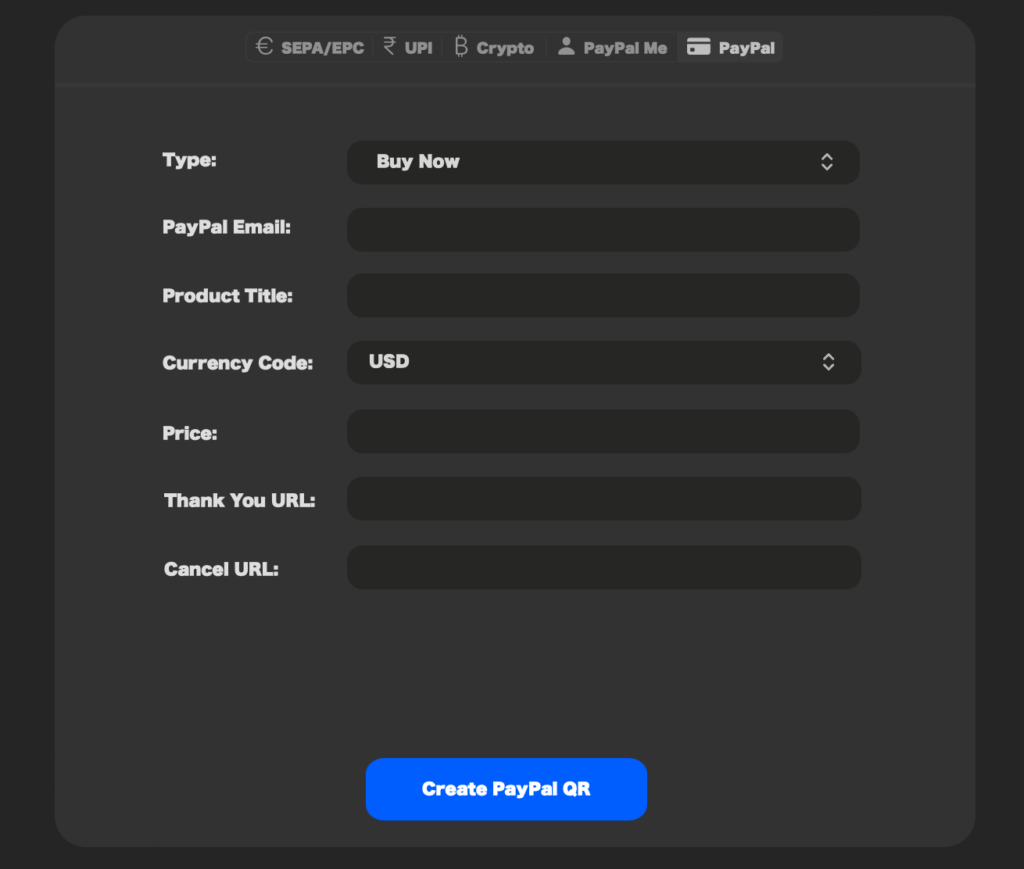
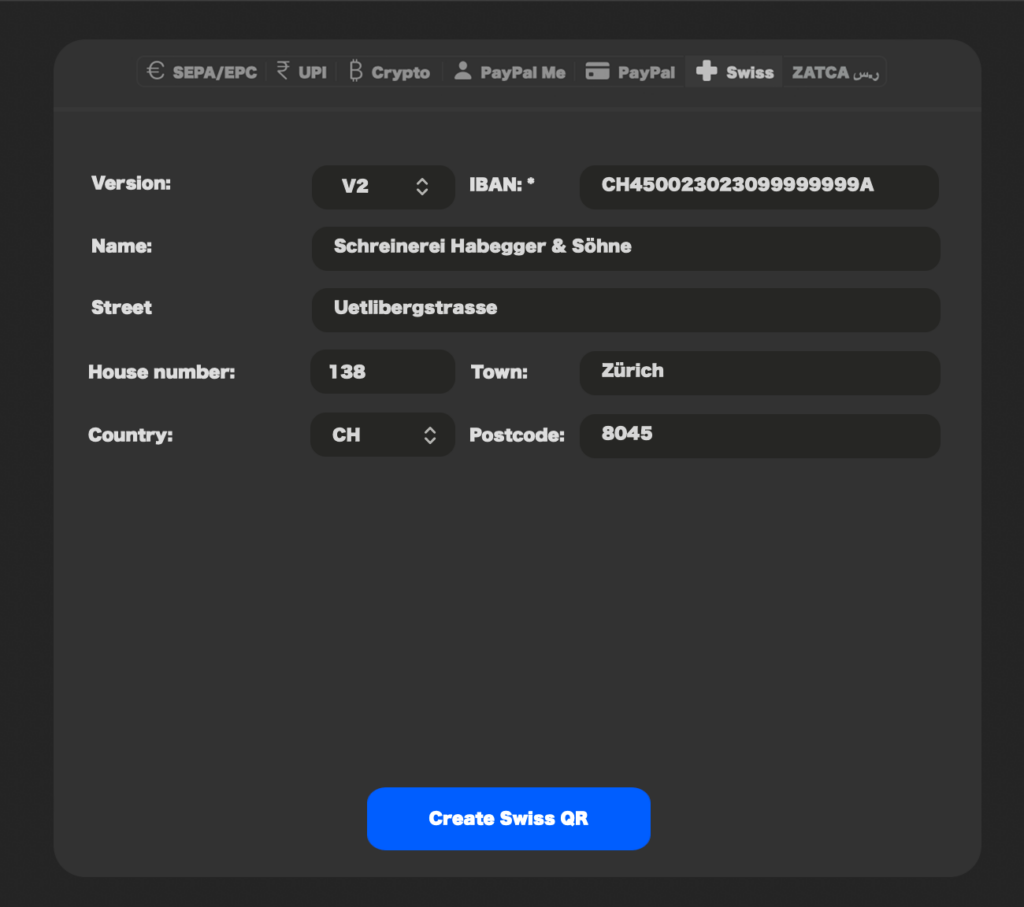
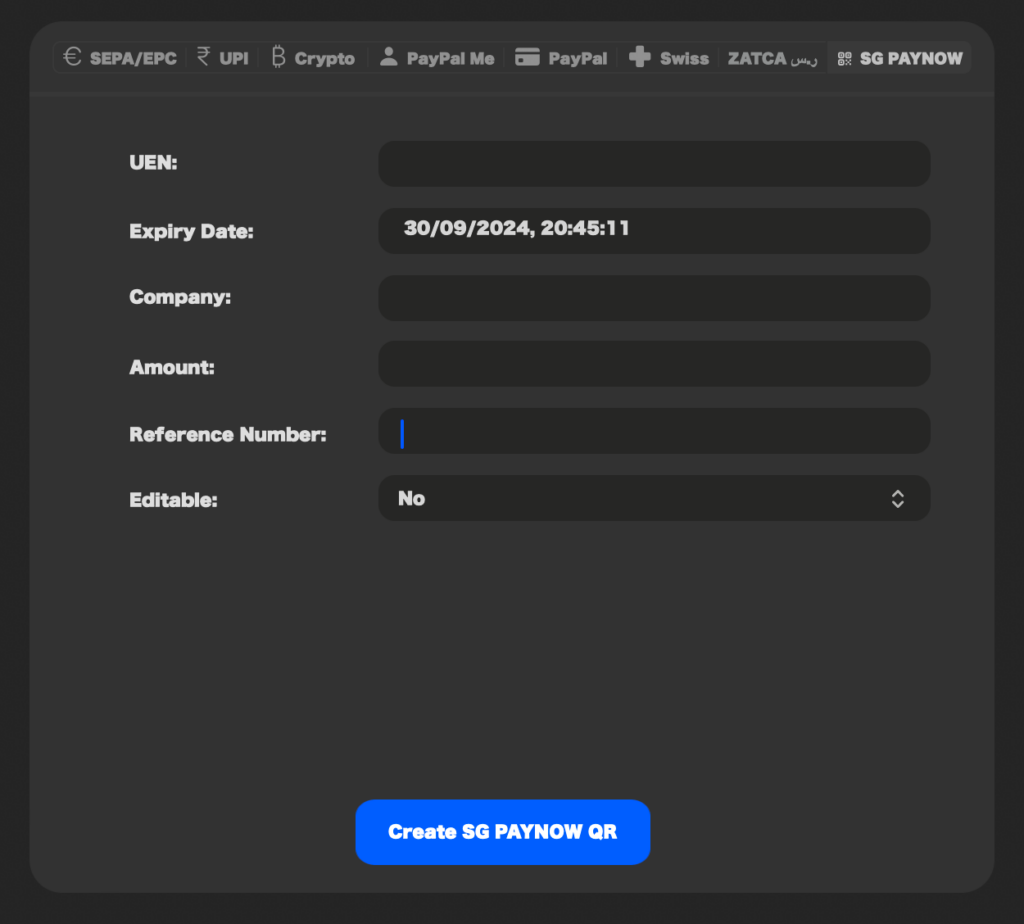
The Pay content type is separated into 6 different options, simply fill out the fields for your selected option and generate your QR code. The Swiss and ZATCA (also known as Fatoora) options were new to version 5.9.0 and the SG PAYNOW option was new to 5.9.1.
